슬랙 소셜 로그인과 알림을 위한 앱 설치 가이드


슬랙 소셜 로그인과 알림을 위한 앱 설치 가이드
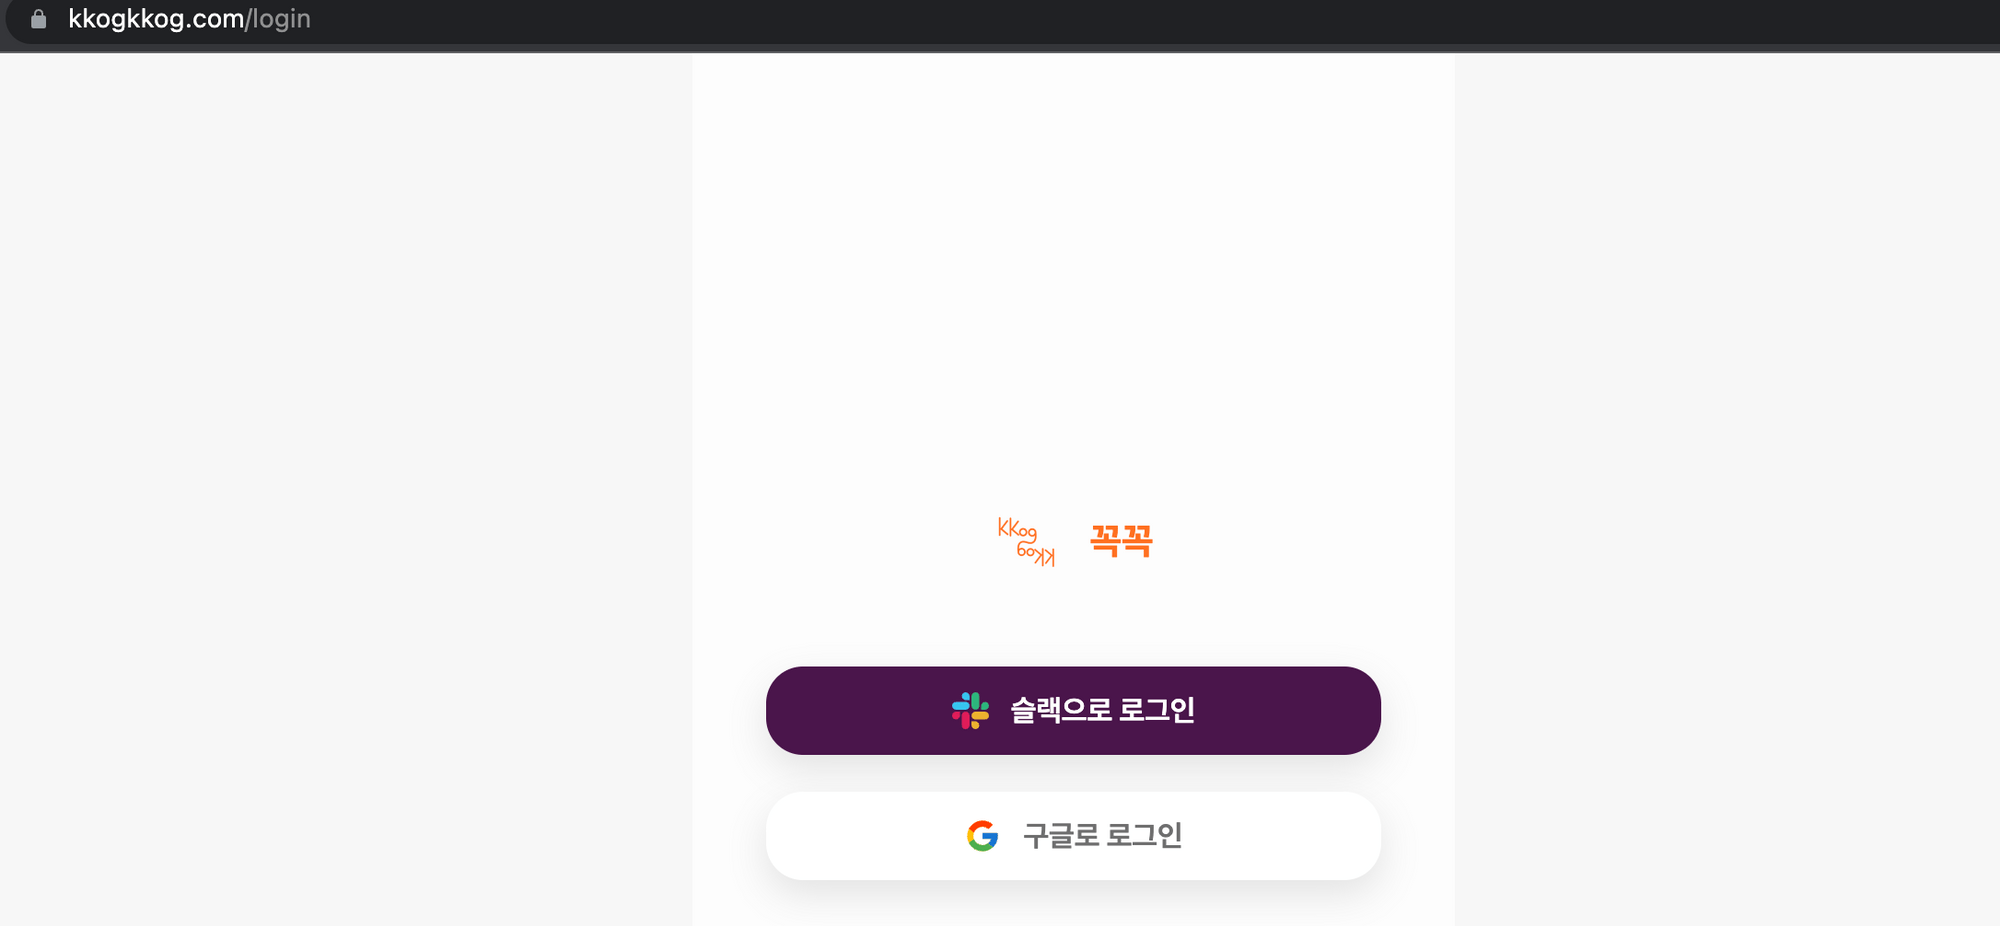
구글, 깃허브, 카카오, 네이버와 같은 서비스는 소셜 로그인을 제공합니다. 슬랙도 해당 기능을 지원하지만 사용자가 많지 않아 한글로 작성된 가이드를 찾기 어렵습니다. 슬랙은 앱을 배포하면 워크스페이스에 봇을 설치해 사용자에게 알림을 보낼 수 있는 기능을 제공합니다. 위 글에서 꼭꼭 프로젝트 에 슬랙 로그인과 알림을 지원하기 위해 탐구한 내용을 공유합니다.
슬랙은 OAuth2, OpenId Connect 방식의 소셜 로그인을 지원합니다. 해당 글은 OAuth2 표준의 동작 방식을 알고 있는 사람을 대상으로 작성하였습니다. 만약 OAuth 동작 방식을 모른다면 OAuth2 동작 방식을 검색하거나 OAuth 개념 및 동작 방식 이해하기 를 참고해주세요.
슬랙 소셜 로그인
OpenId Connect를 사용하는 방법입니다. 슬랙은 해당 엔드포엔트에서 사용자 정보를 요청할 수 있는 엑세스 토큰을 제공합니다.
슬랙 로그인 과정
- Resource Owner가 슬랙으로 로그인 버튼을 눌러 Slack Authorization Server의 엔드포인트로 접속하여 로그인하고 정보 제공을 승인합니다.
Slack Authorization Server의 엔드포인트
GET https://slack.com/openid/connect/authorize?
 scope=email openid profile
&client_id=4274003xxxxxx.xxxxxxxxxxxxx
&redirect_uri=https://kkogkkog.com/redirect
&response_type=code
- Slack Authorization Server는 설정한 Client의 URL로 리다이렉트시킵니다. 이때 QueryString으로 Authorization code를 전달합니다.
GET https://kkogkkog.com/redirect?code=12345678.90ab- Client는 Resource Owner를 거치지 않고 ClientId, Client Secret, Code를 Slack Authorization Server에 전달 합니다. 만약 올바른 코드이면 엑세스 토큰을 반환합니다.
- OpenId Connect 표준에 따라 id_token의 payload 부분에도 유저 정보가 인코딩되어 있습니다.
POST https://slack.com/api/openid.connect.token
Content-Type: application/x-www-form-urlencoded;charset=UTF-8

client_id="4274003xxxxxx.xxxxxxxxxxxxx"
&client_secret="3001a9f1xxxxxxxxxxxxxxxxxxxxxxxx"
&redirect_uri="https://kkogkkog.com/redirect"
&code="12345678.90ab"Content-Type: application/json;charset=UTF-8
{
"ok": true,
"access_token": "xoxp-1234",
"token_type": "Bearer",
"id_token": "eyJhbGcMjY5OTA2MzcWNrLmNvbVwvdGVhbV9p..."
}- 이제 엑세스 토큰으로 Resource Server에서 유저 정보와 같은 자원을 가져와 내가 만든 서버에서 사용할 수 있습니다.
GET https://slack.com/api/openid.connect.userInfo
Content-Type: application/x-www-form-urlencoded;charset=UTF-8
Authorization: Bearer {Access Token}Content-Type: application/json;charset=UTF-8
{
"ok": true,
"sub": "U0R7JM",
"https://slack.com/user_id": "U0R7JM",
"https://slack.com/team_id": "T0R7GR",
"email": "krane@slack-corp.com",
"name": "krane",
"picture": "https://secure.gravatar.com/....png",
"locale": "en-US",
"https://slack.com/team_name": "kraneflannel",
}슬랙 앱 설정
슬랙 로그인을 위한 앱 설정 과정입니다.
-
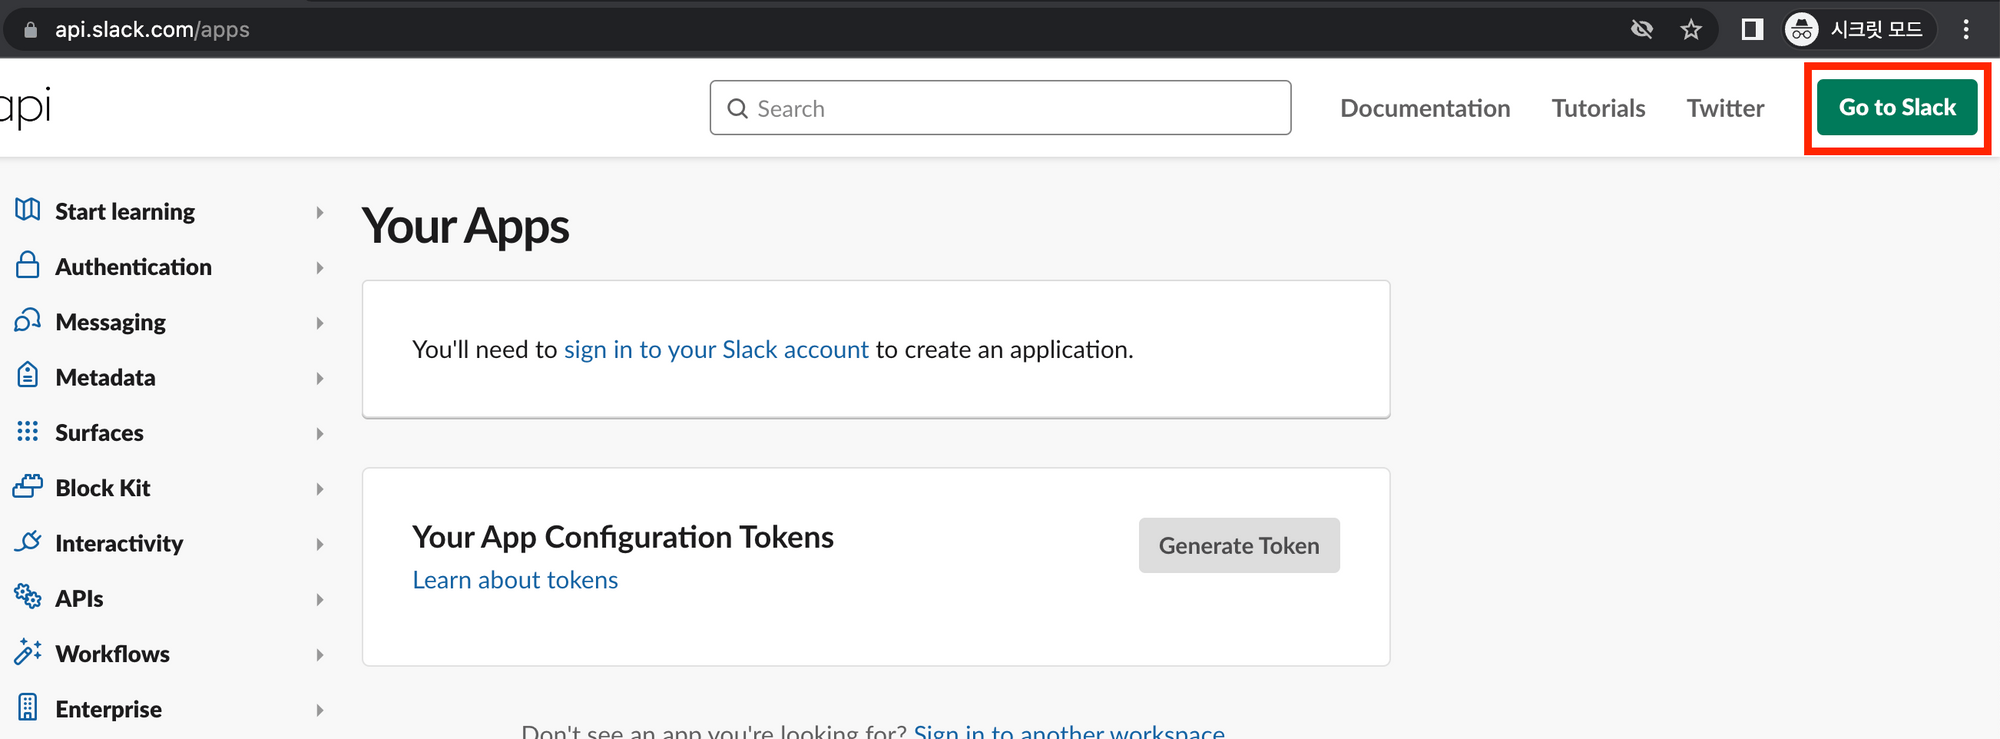
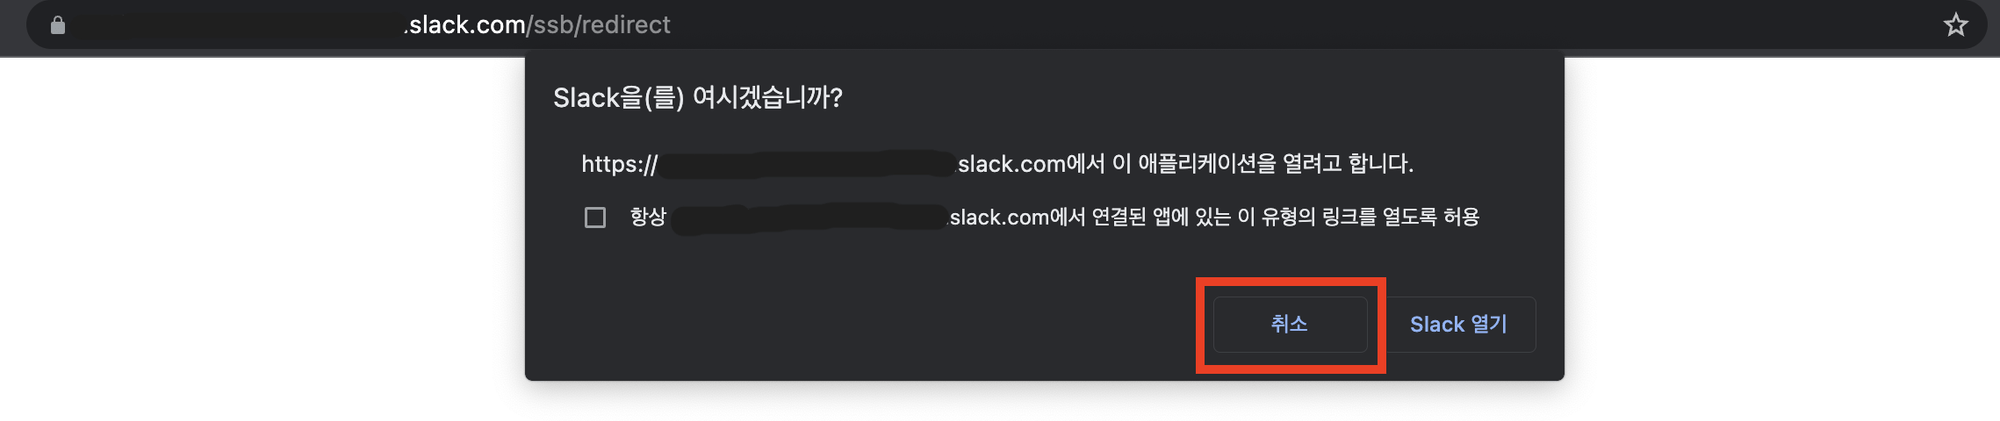
https://api.slack.com/apps 에 접속하여 Go to Slack 버튼을 클릭합니다.
-
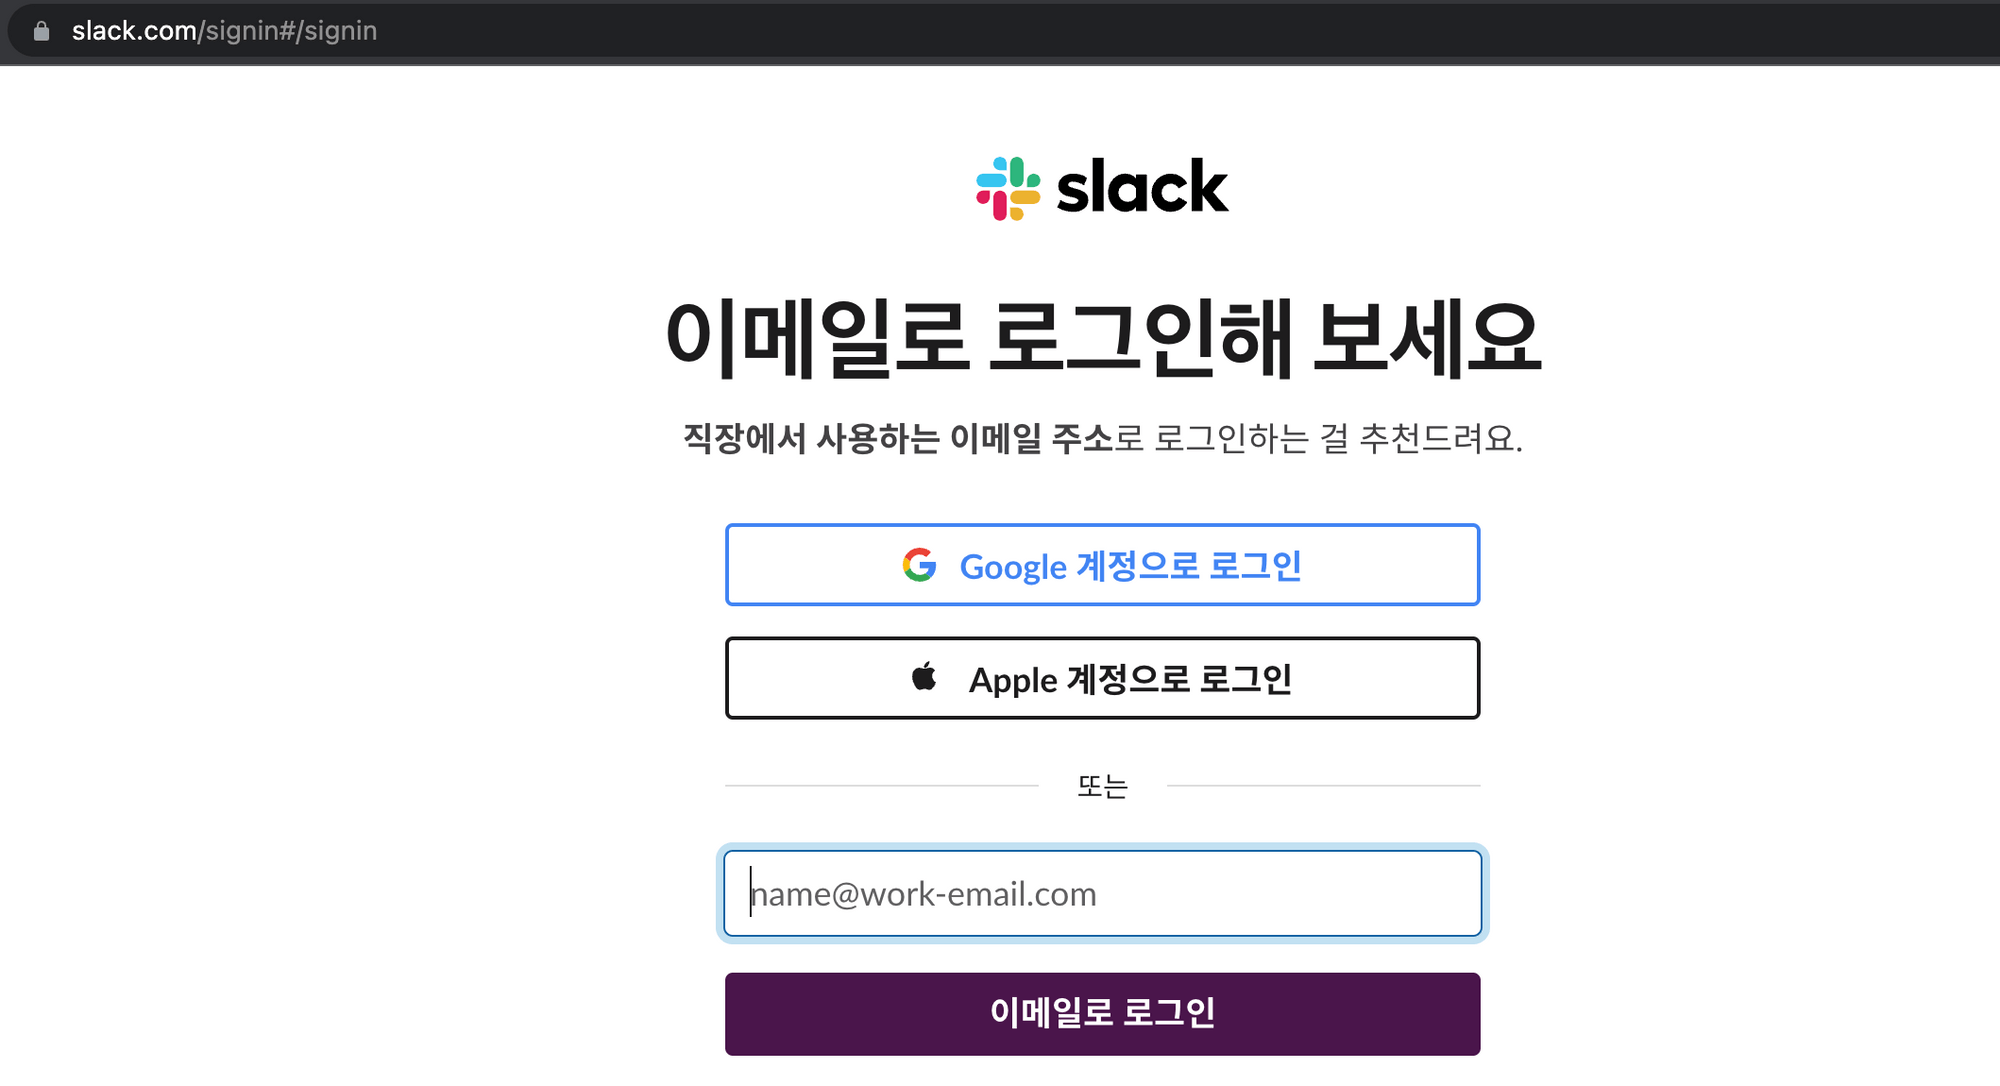
등록하고자 하는 워크스페이스에 소속된 계정으로 로그인합니다.
-
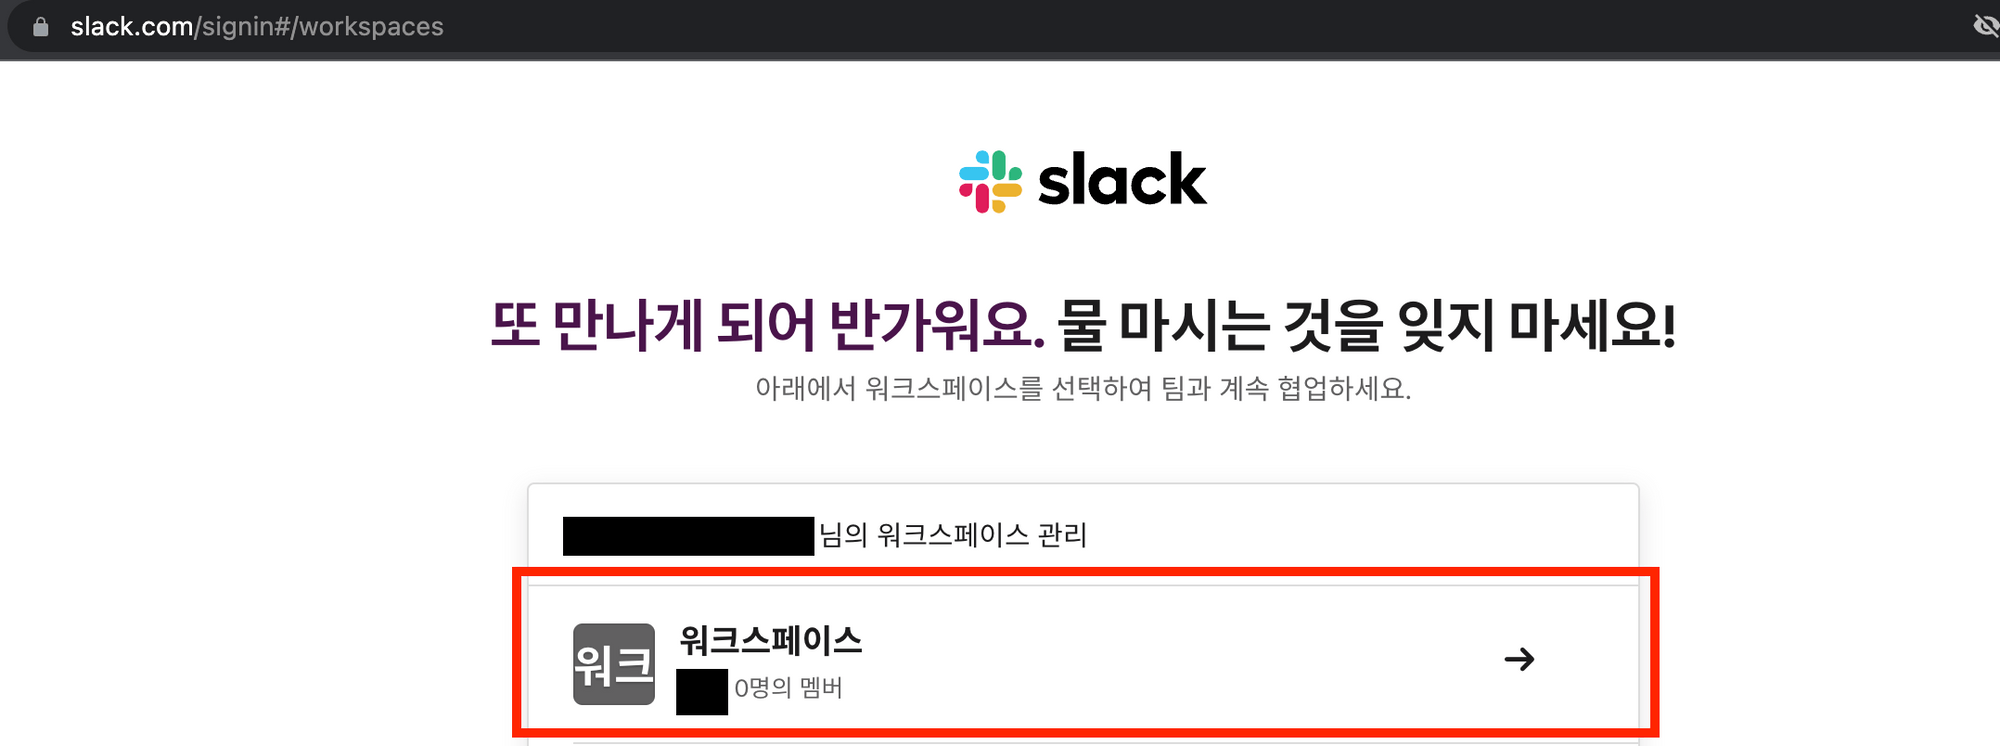
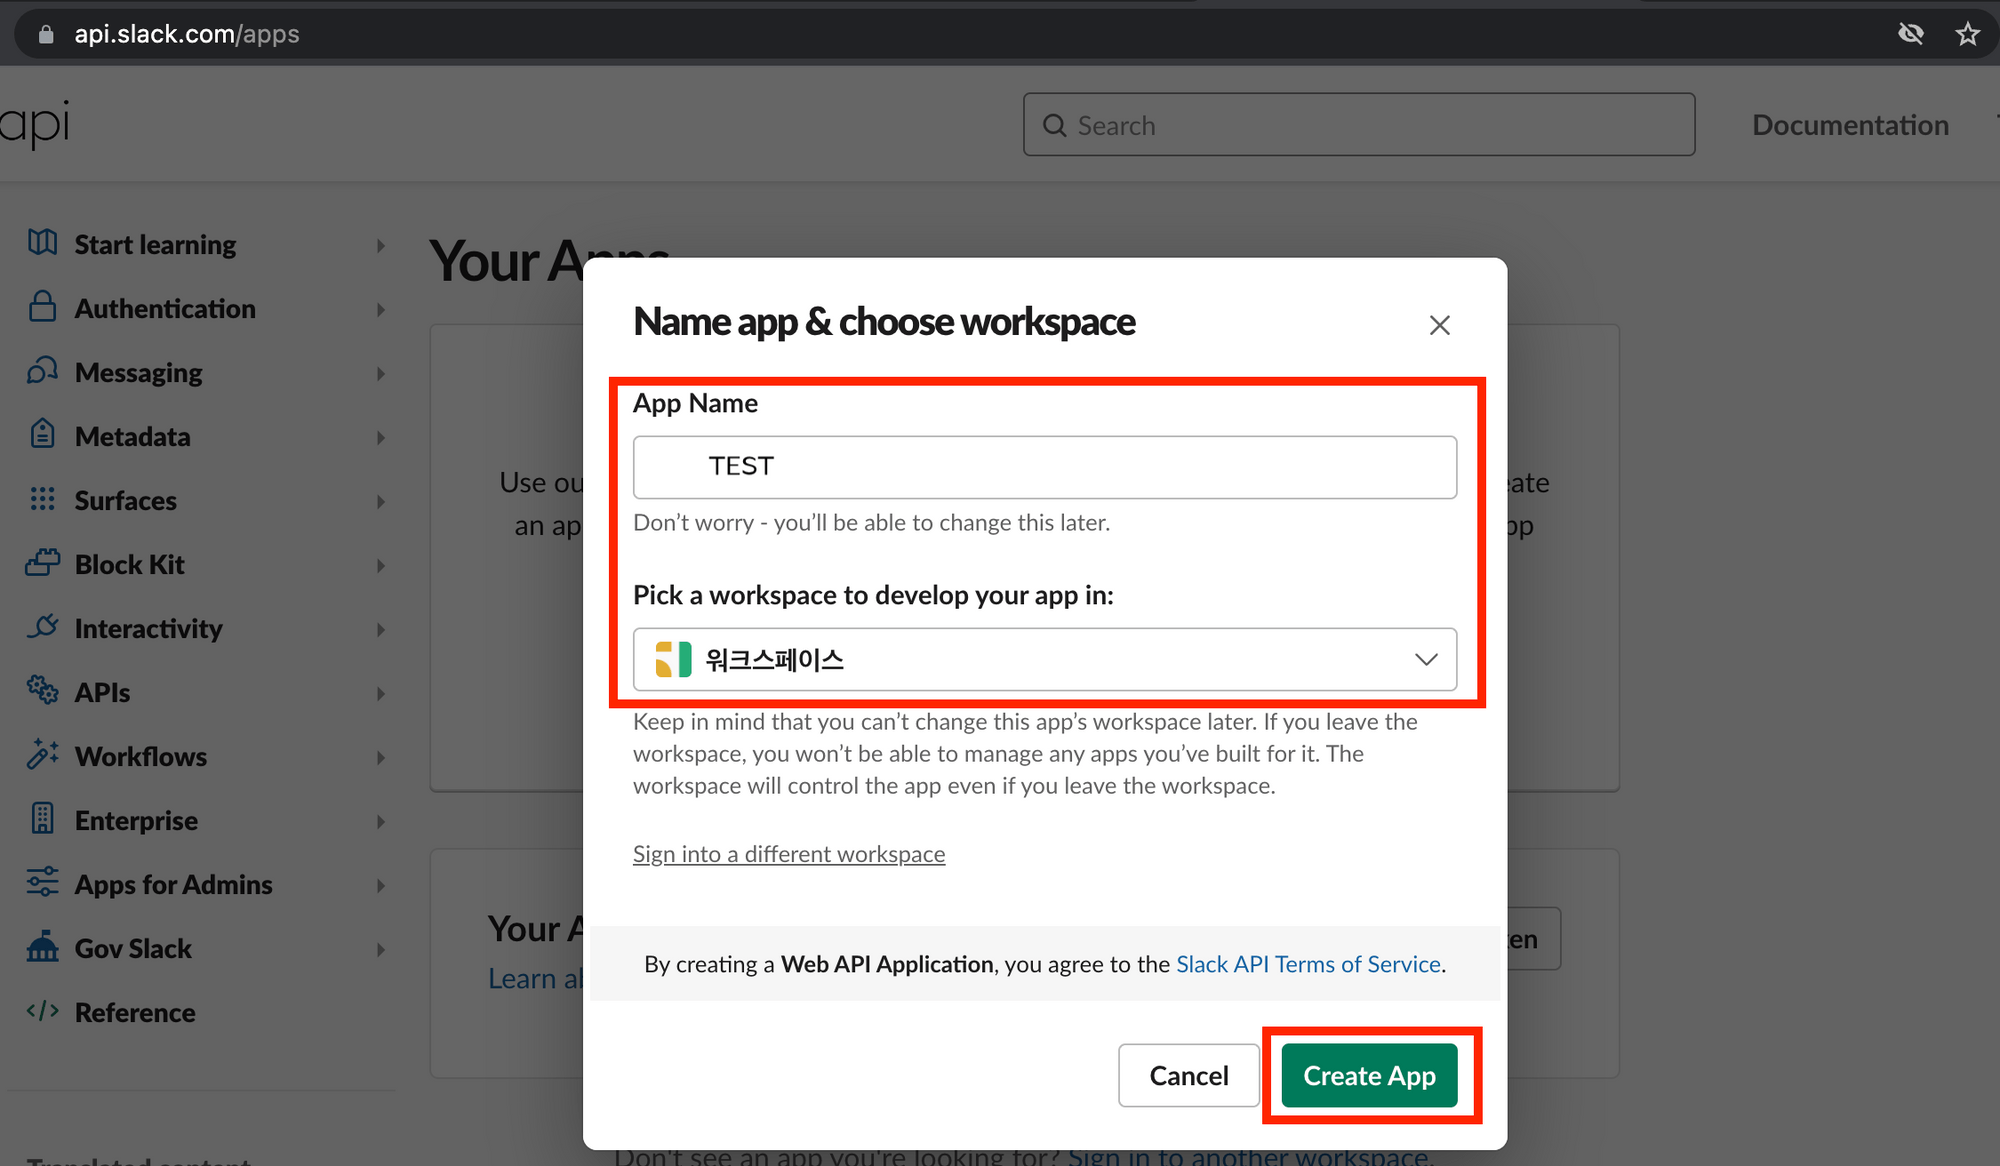
로그인 후 앱을 설정할 워크스페이스를 선택합니다.
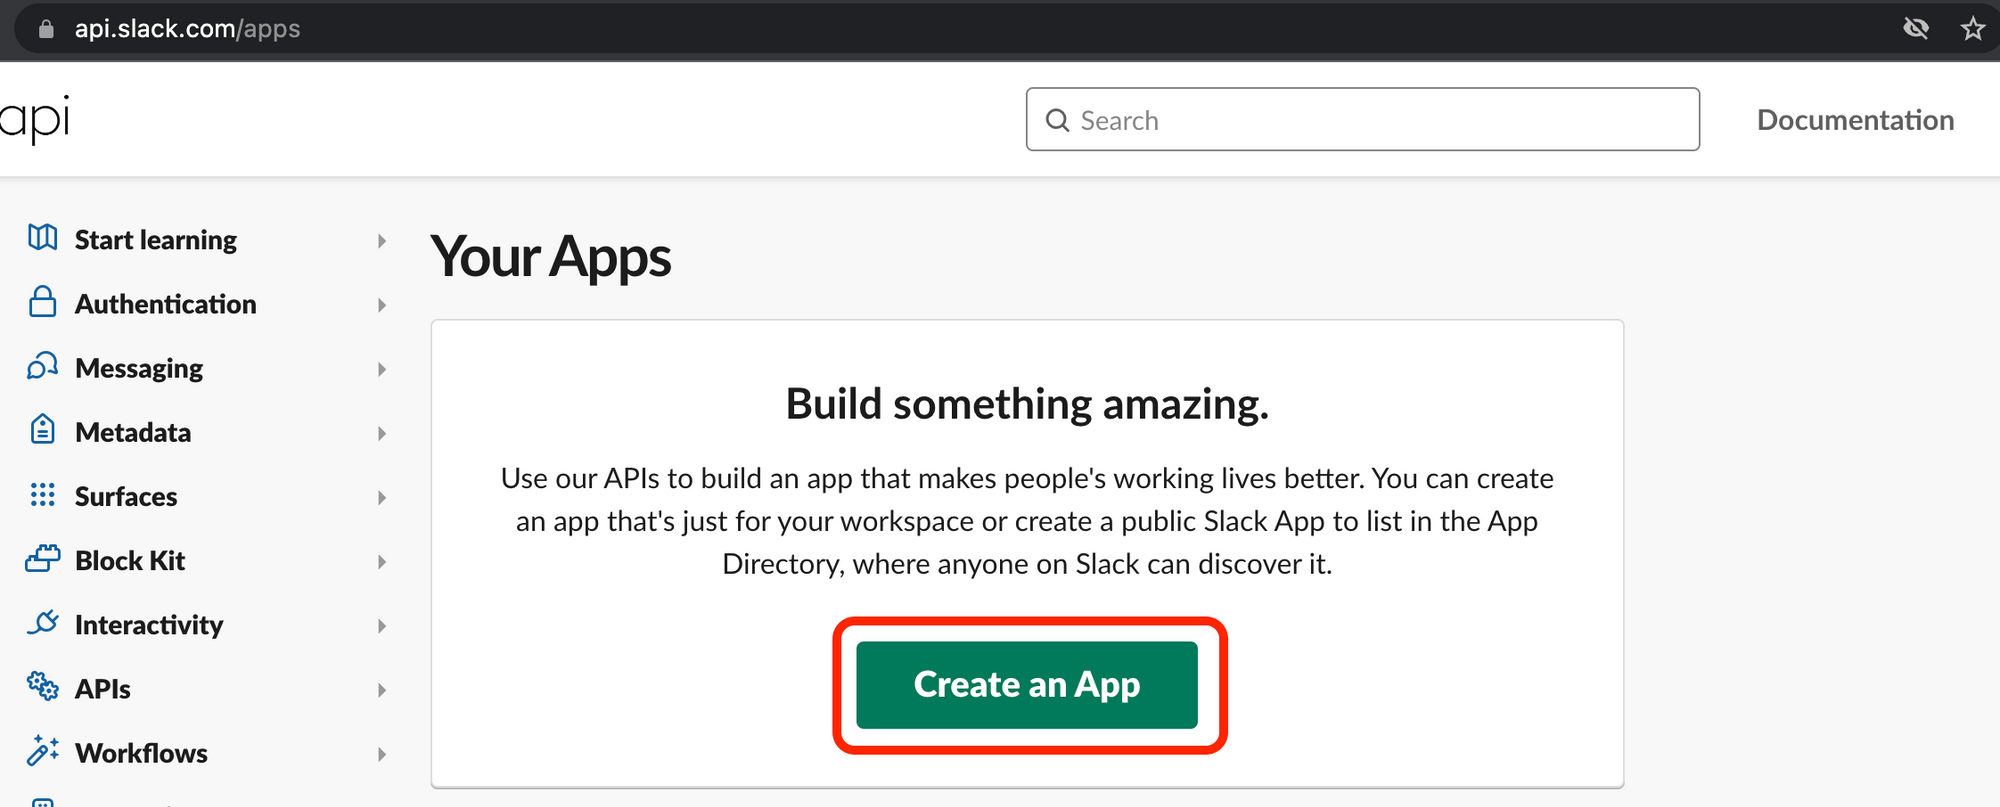
-
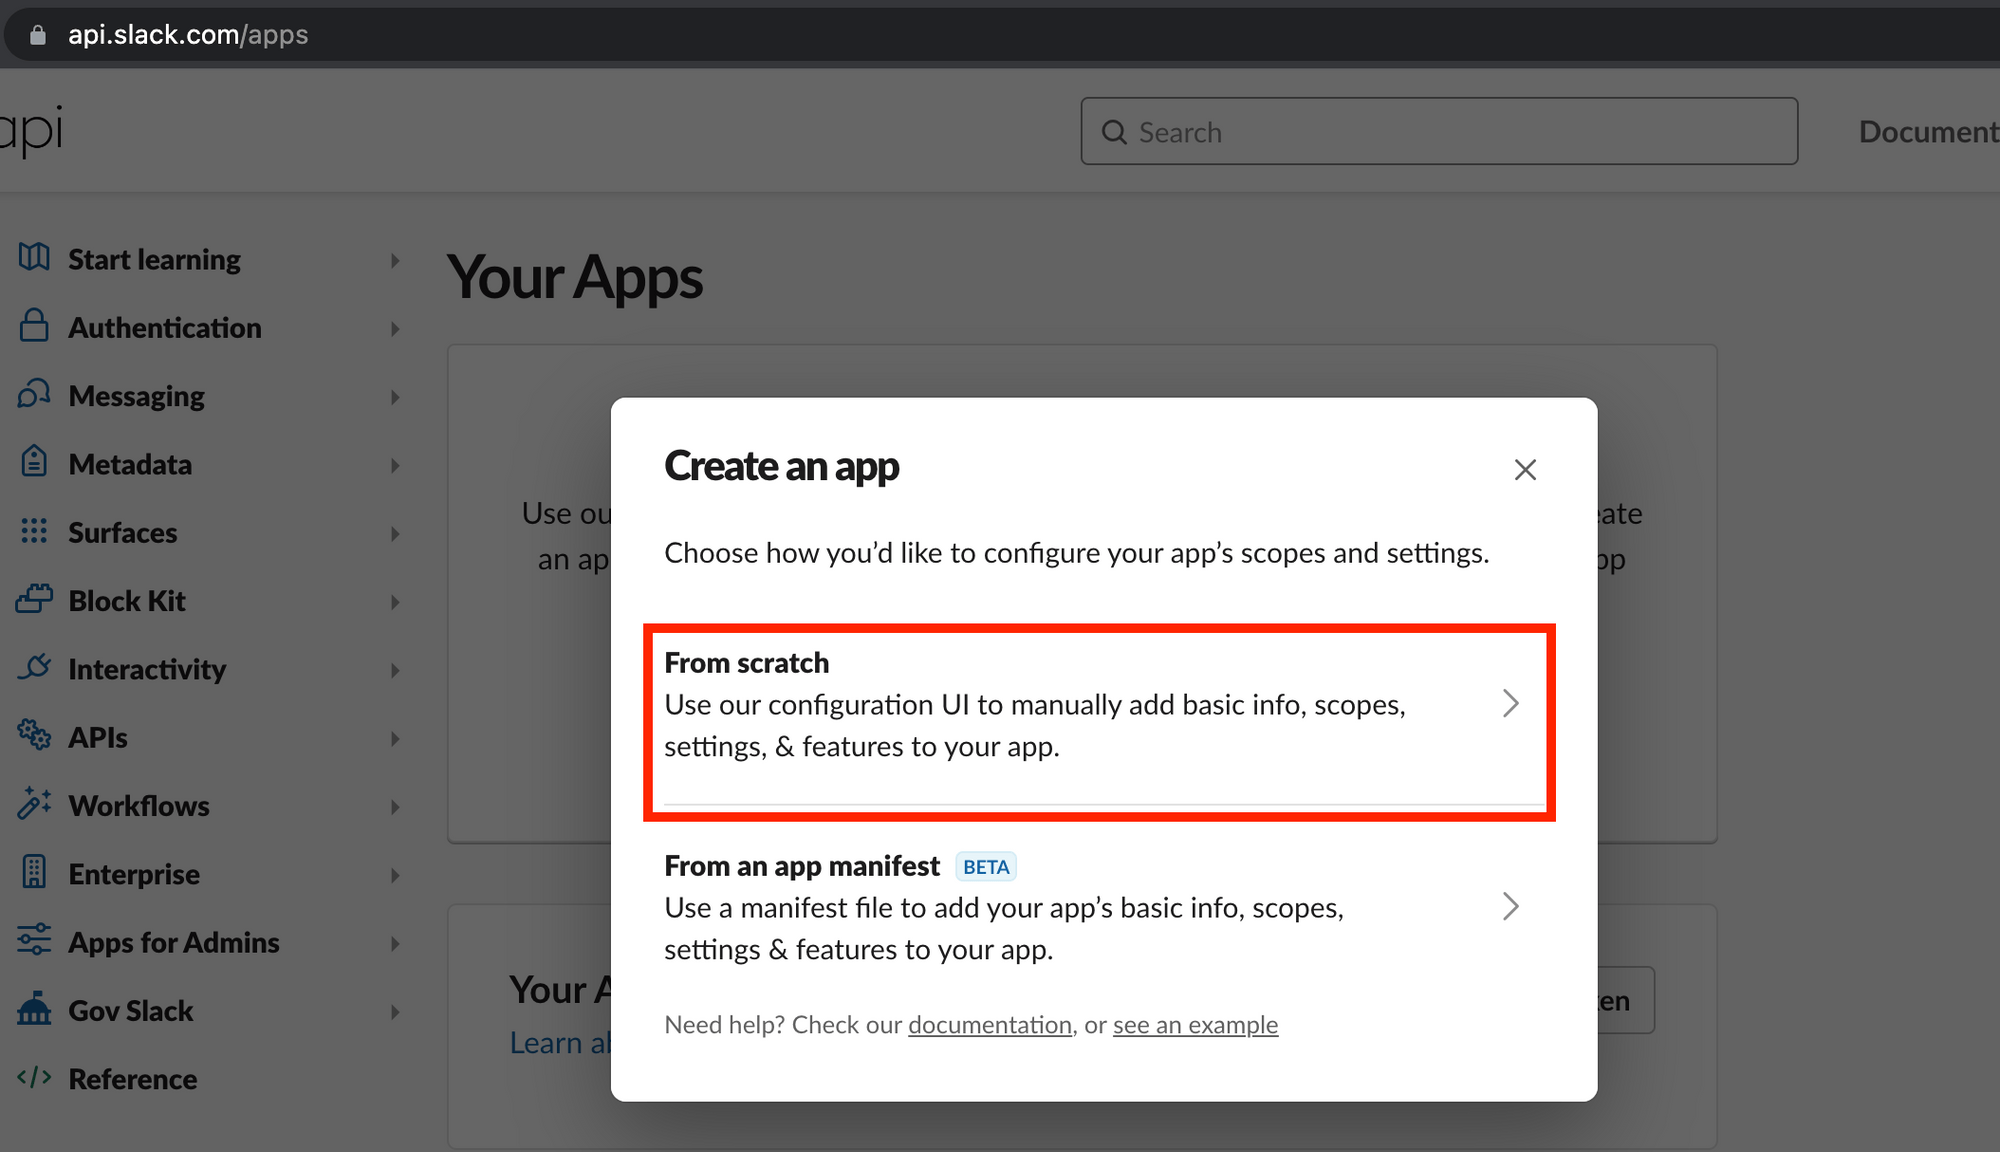
https://api.slack.com/apps 에 접속하여 Create an App 버튼을 클릭하여 앱을 생성합니다.
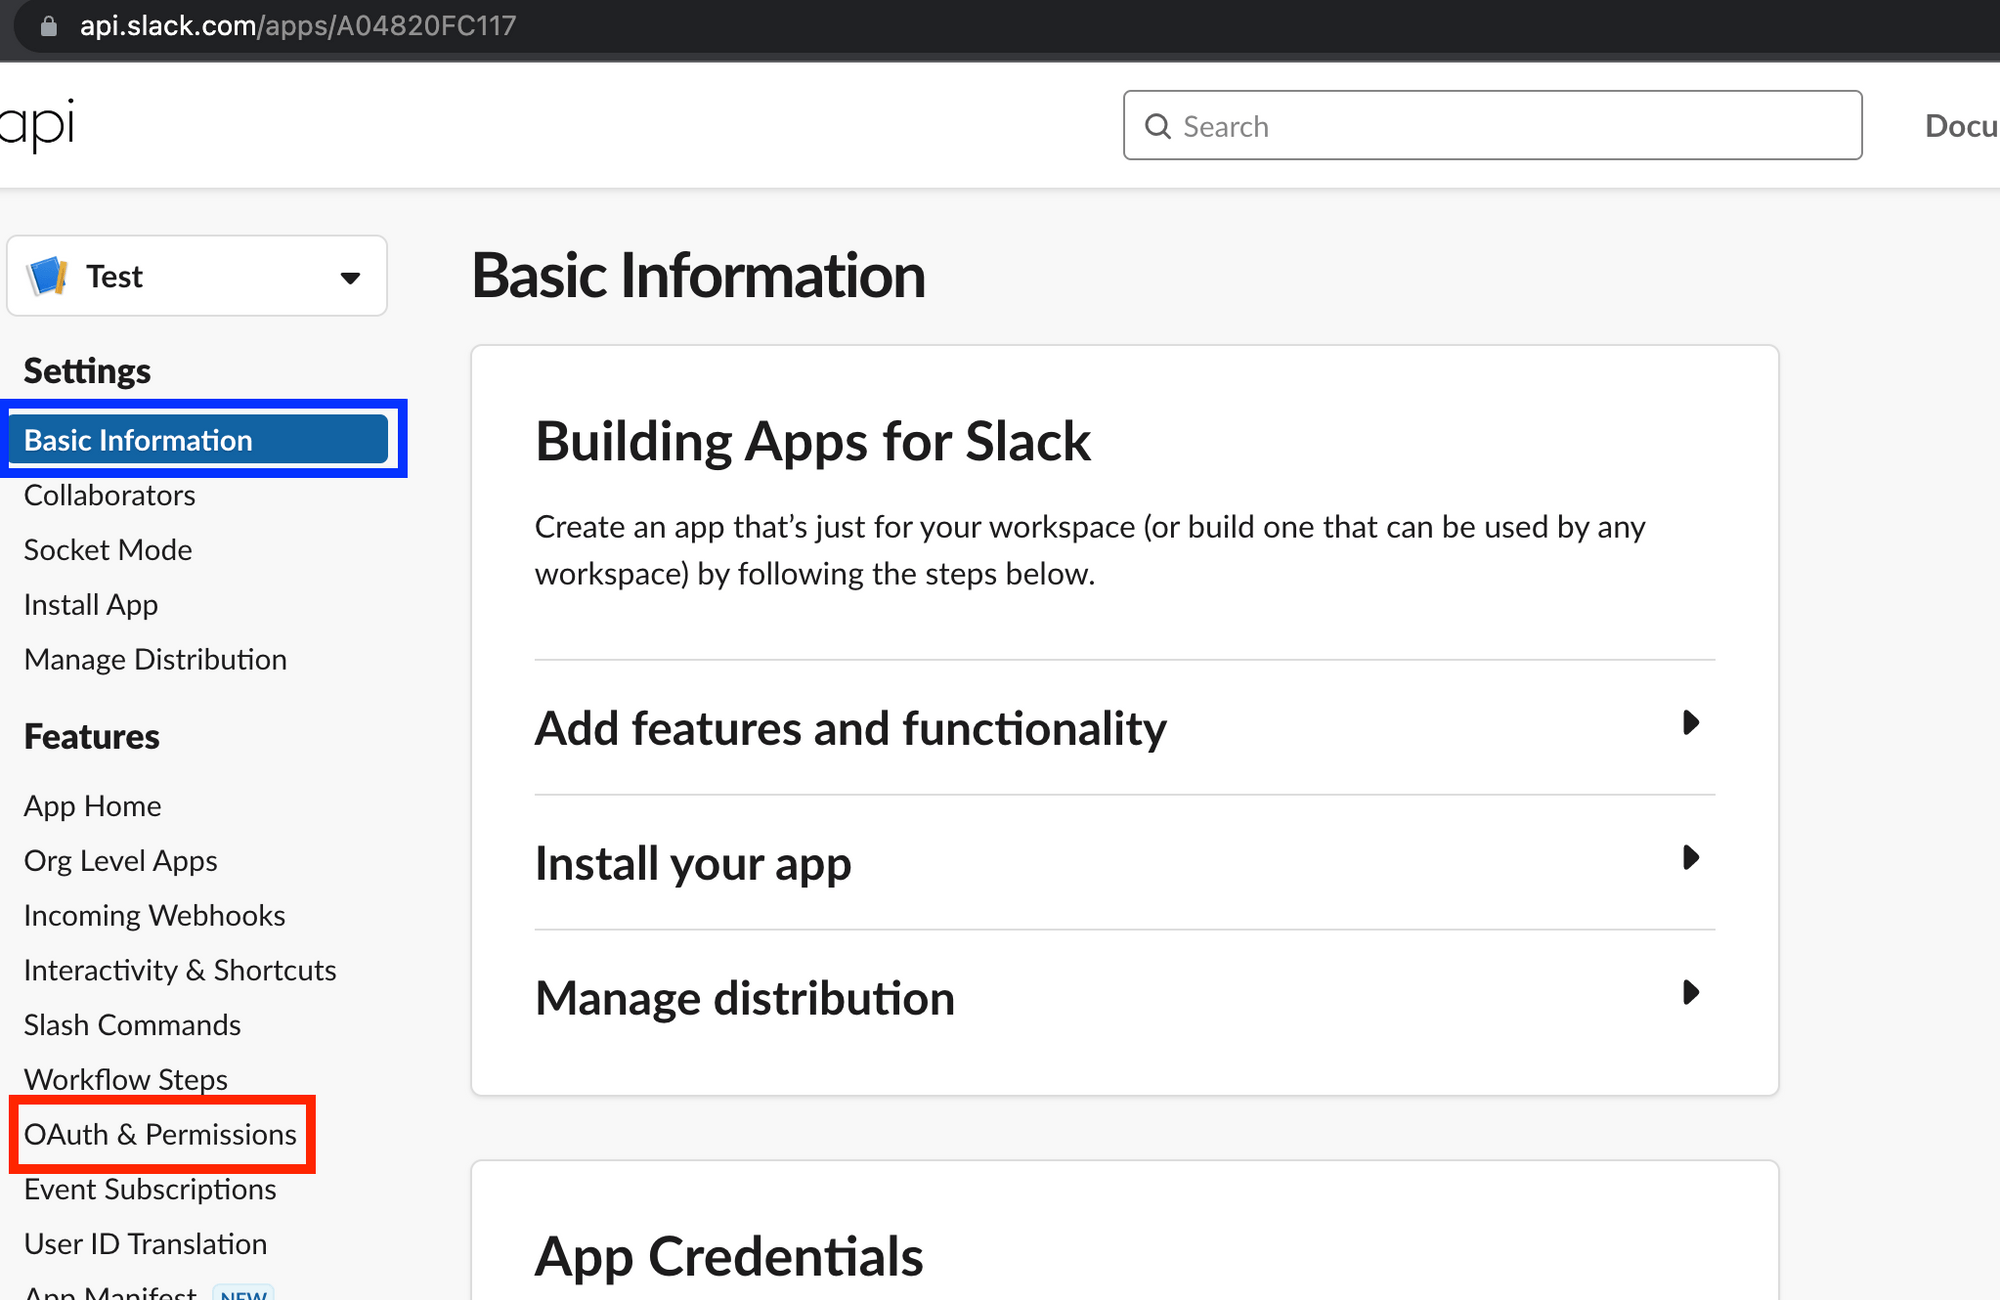
-
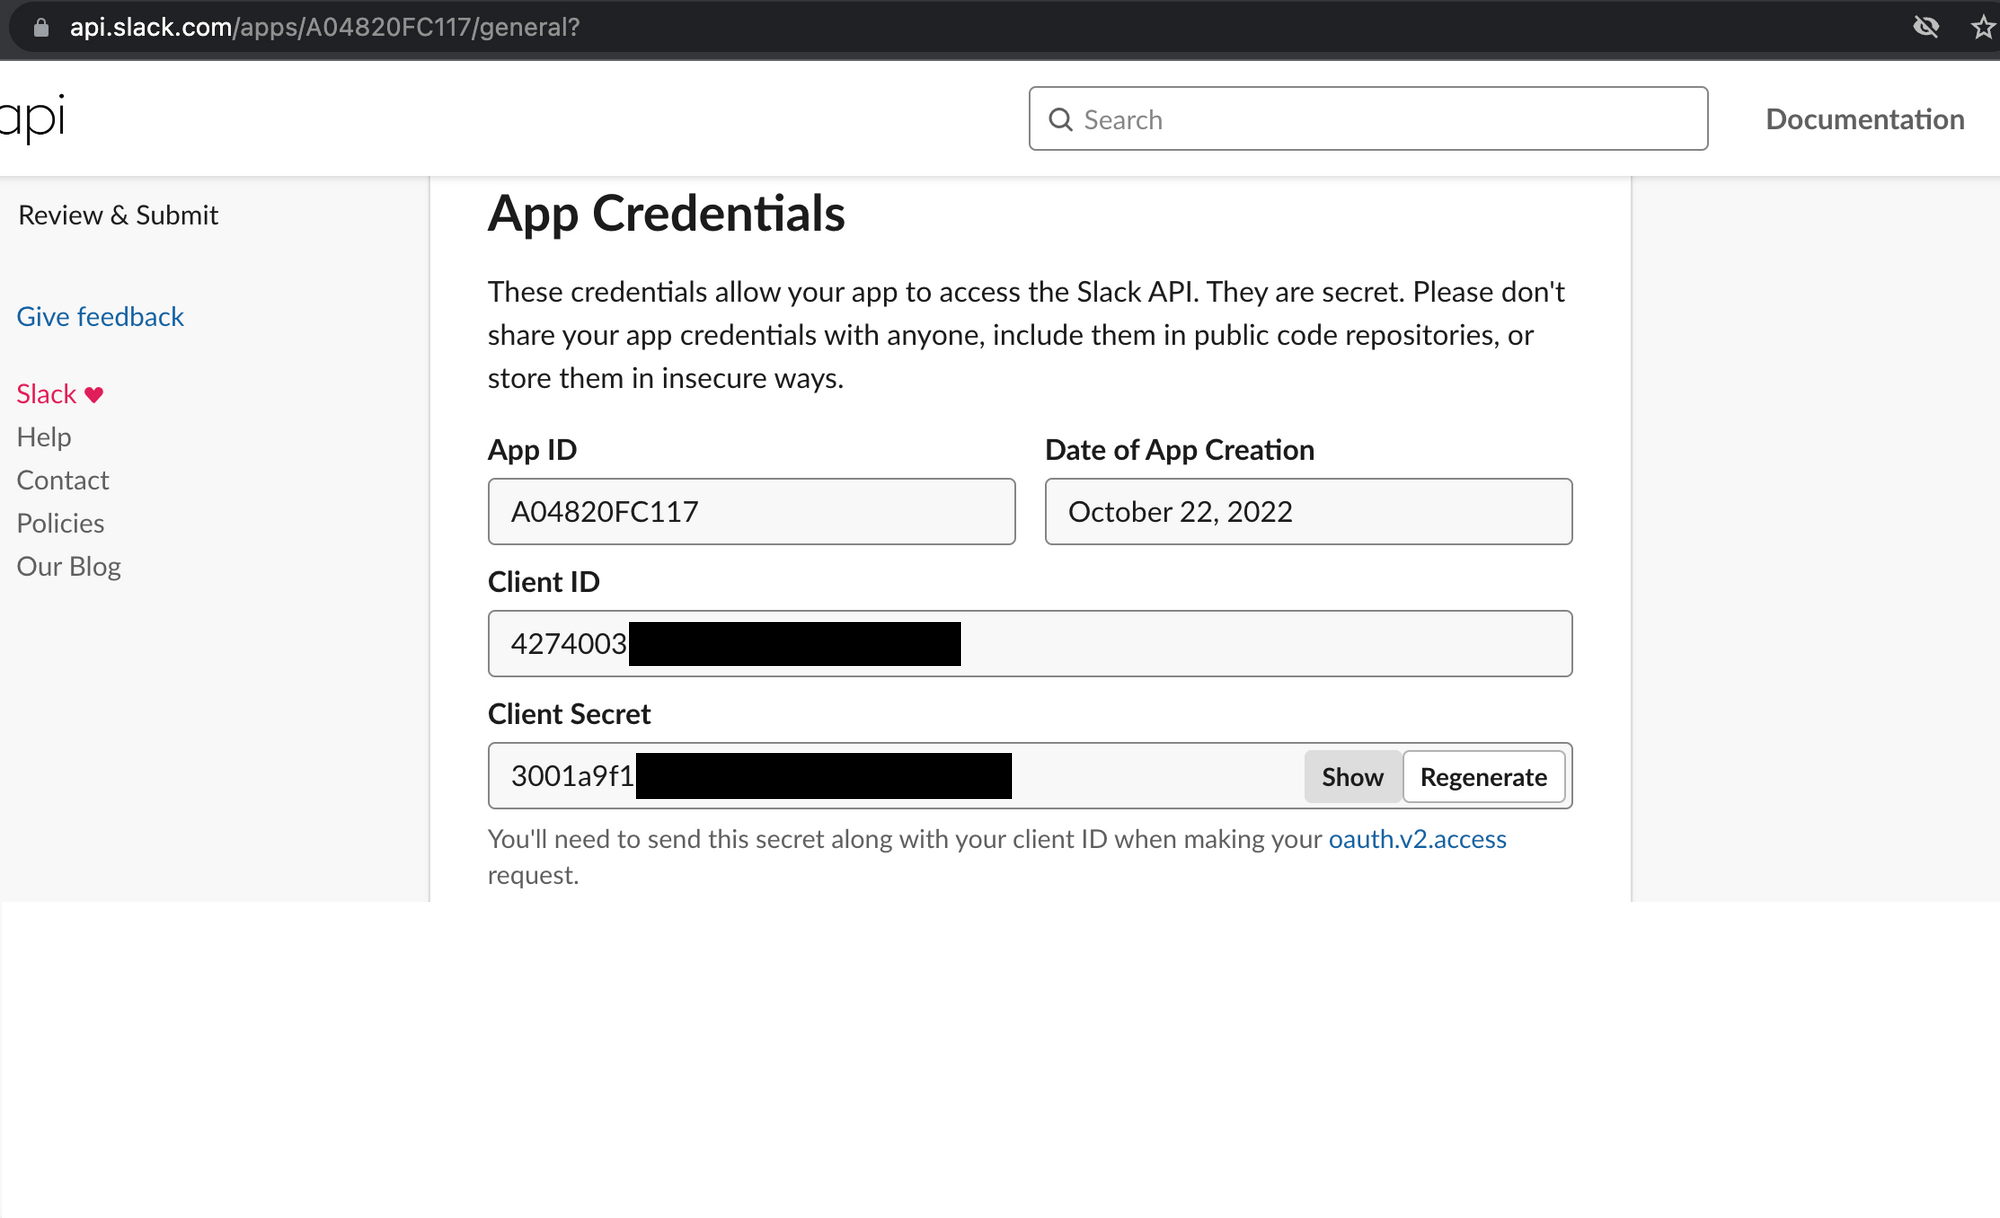
초기 화면에서 OAuth & Permissions 탭을 선택합니다.
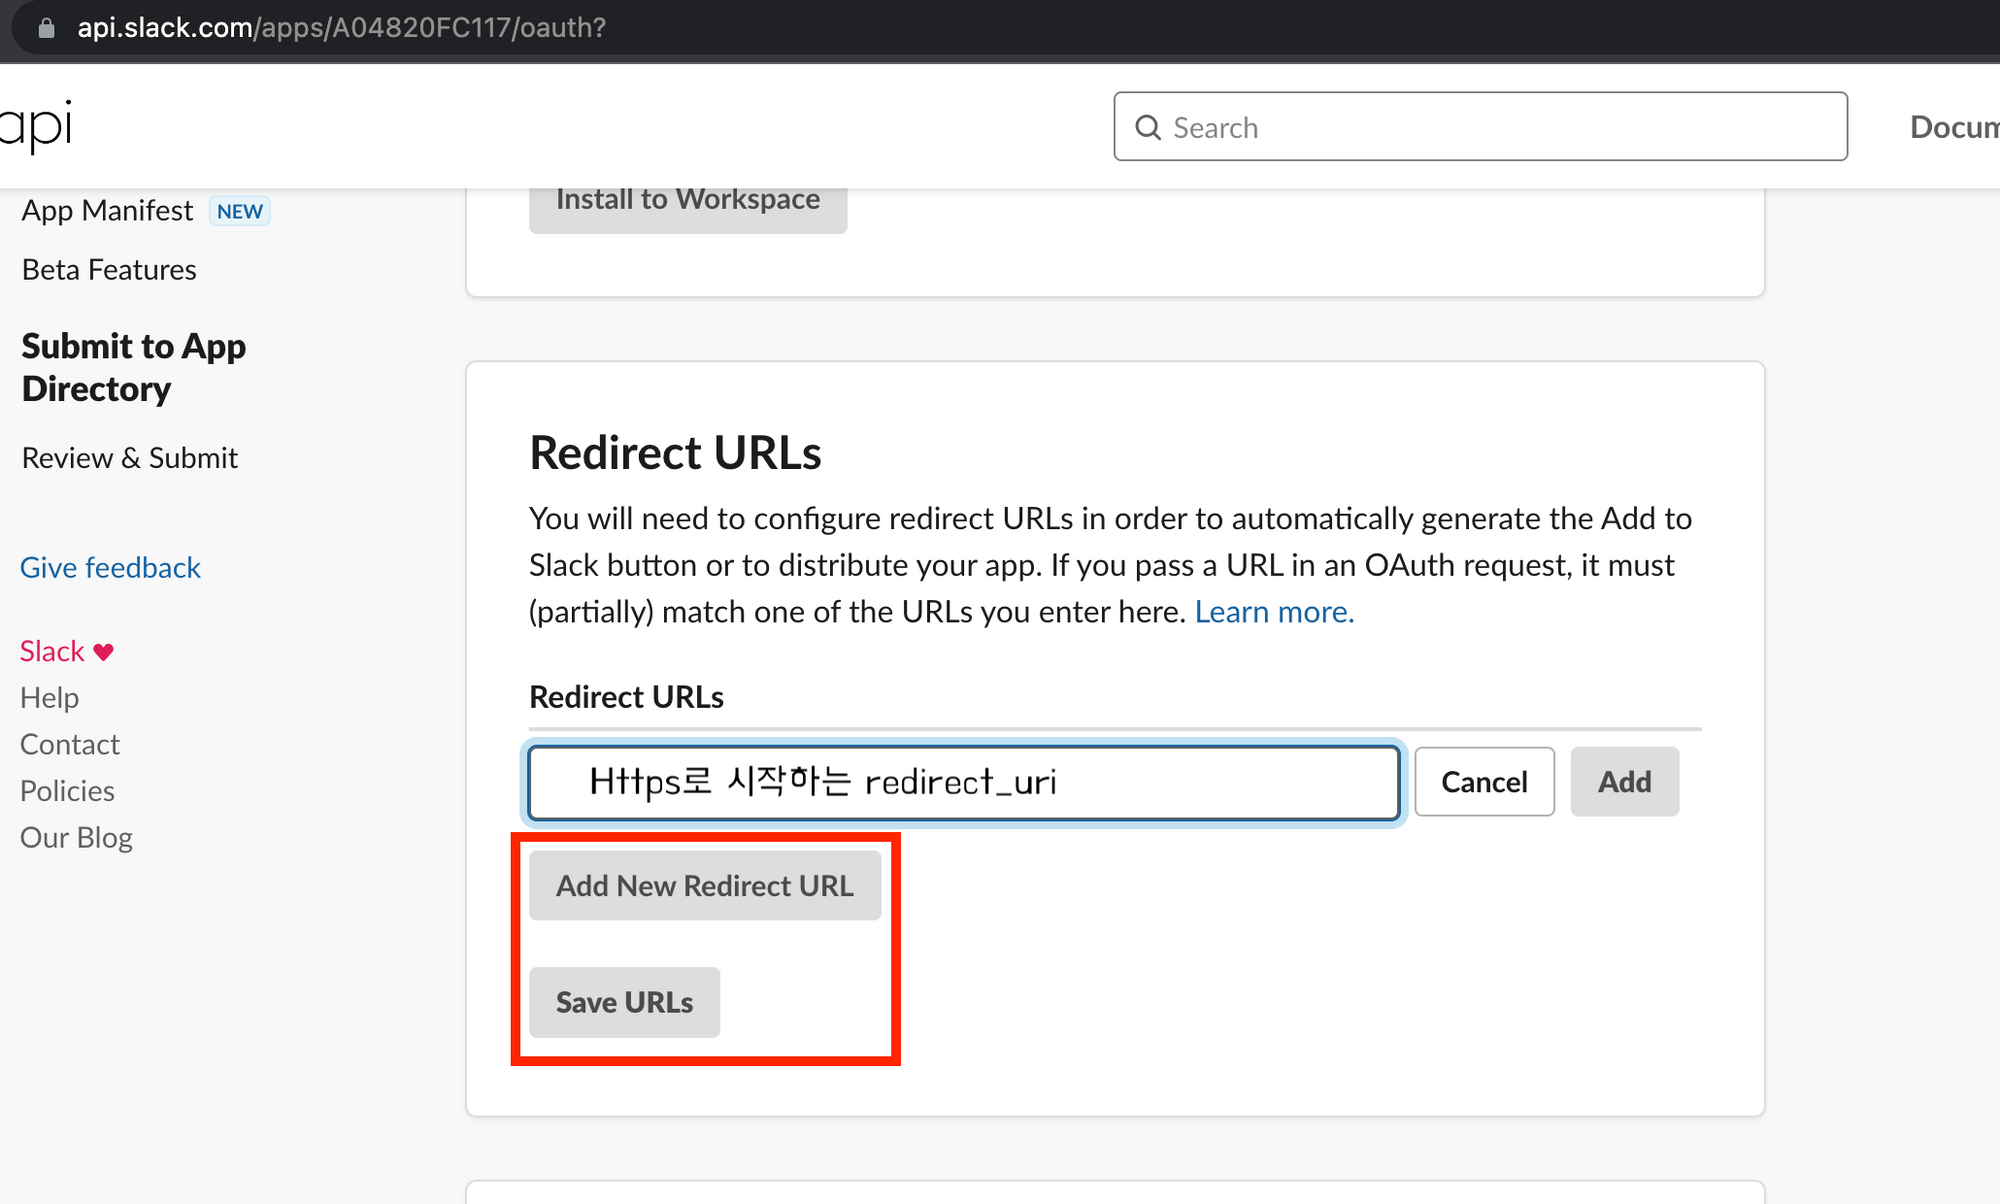
-
Https로 시작하는 Client의 Redirect Url을 설정합니다.
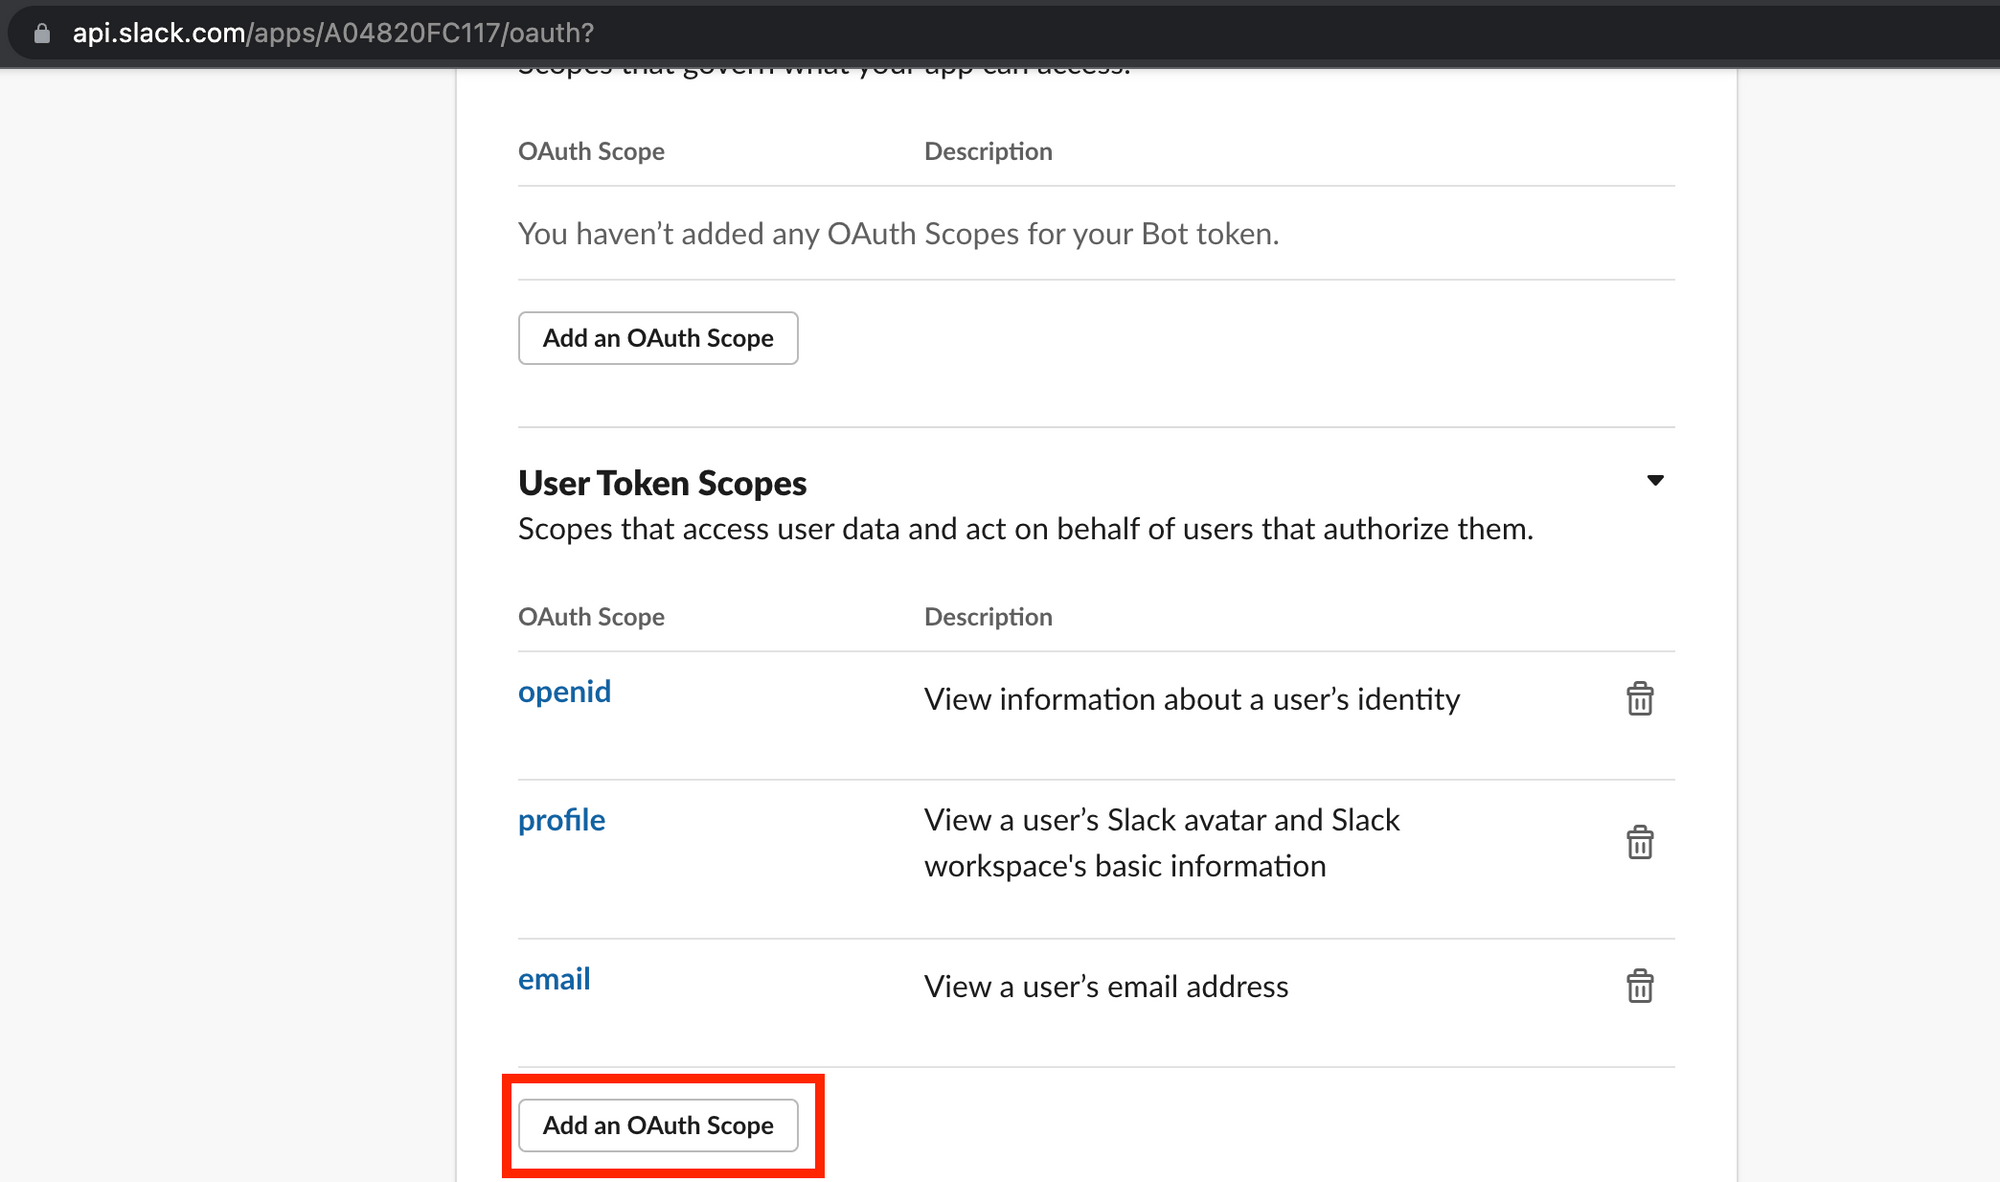
-
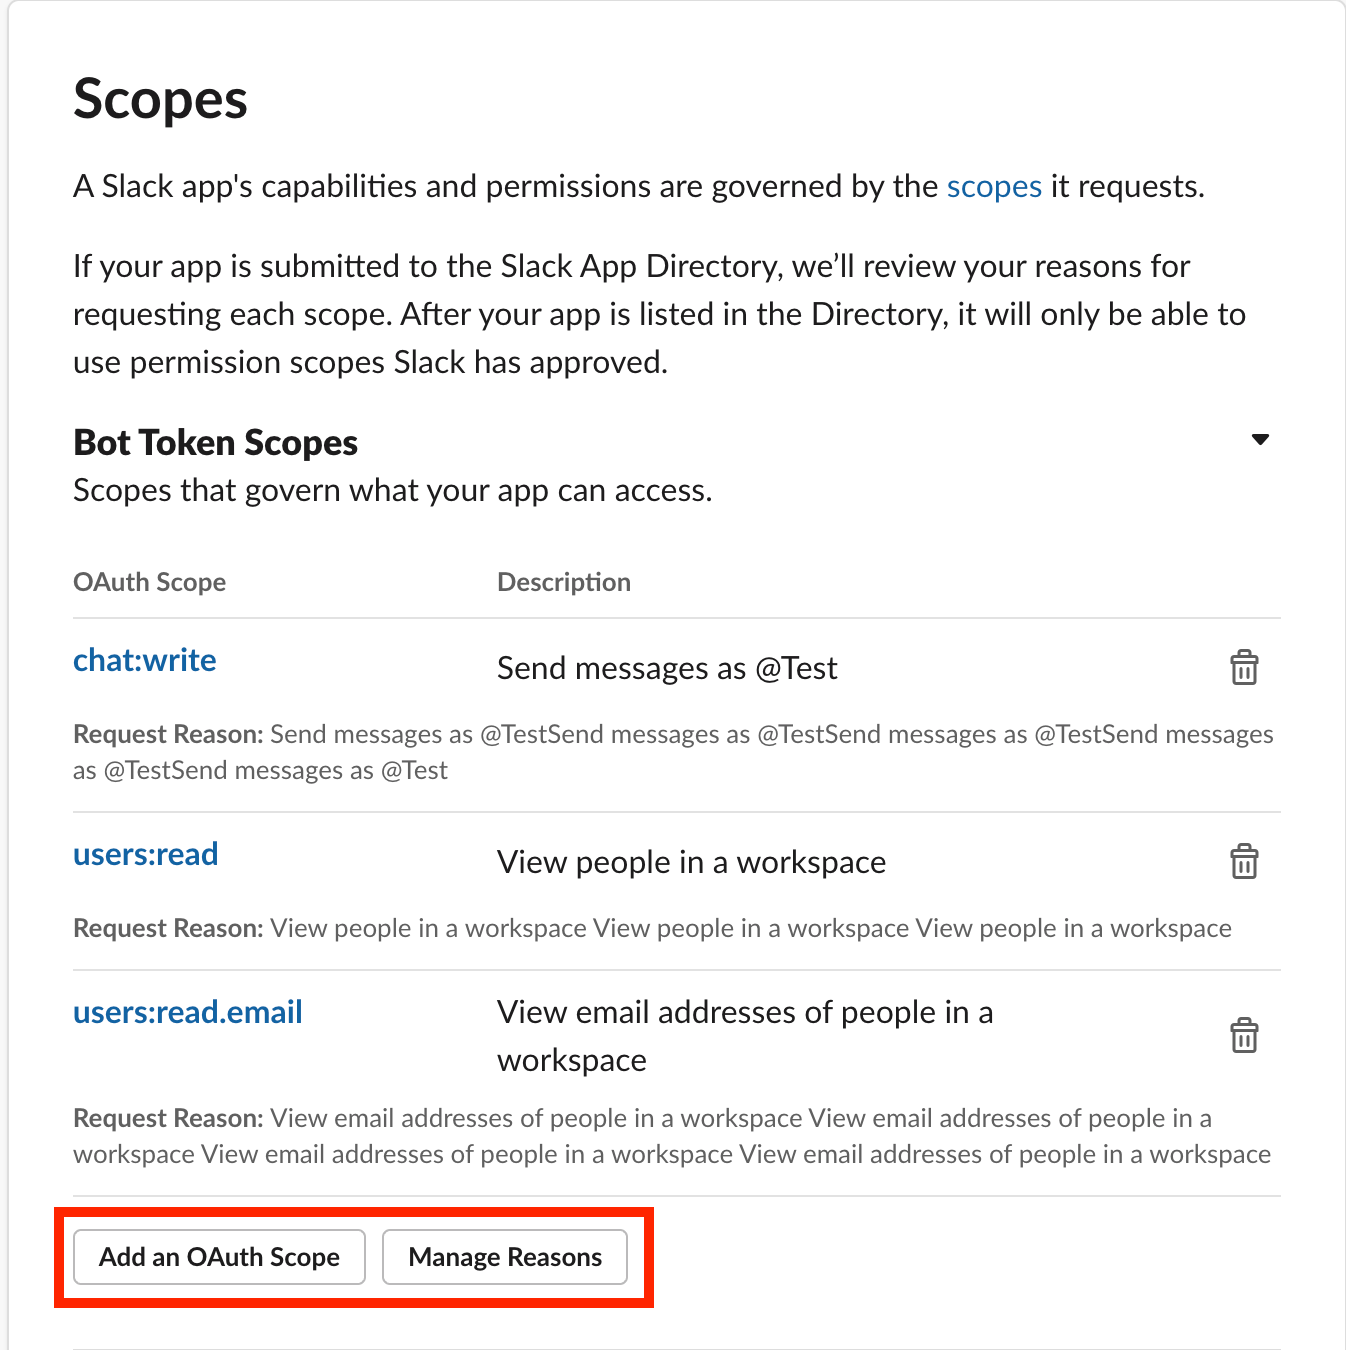
Open Id connect를 사용하기 위한 openid, profile, email Scopes를 추가합니다.
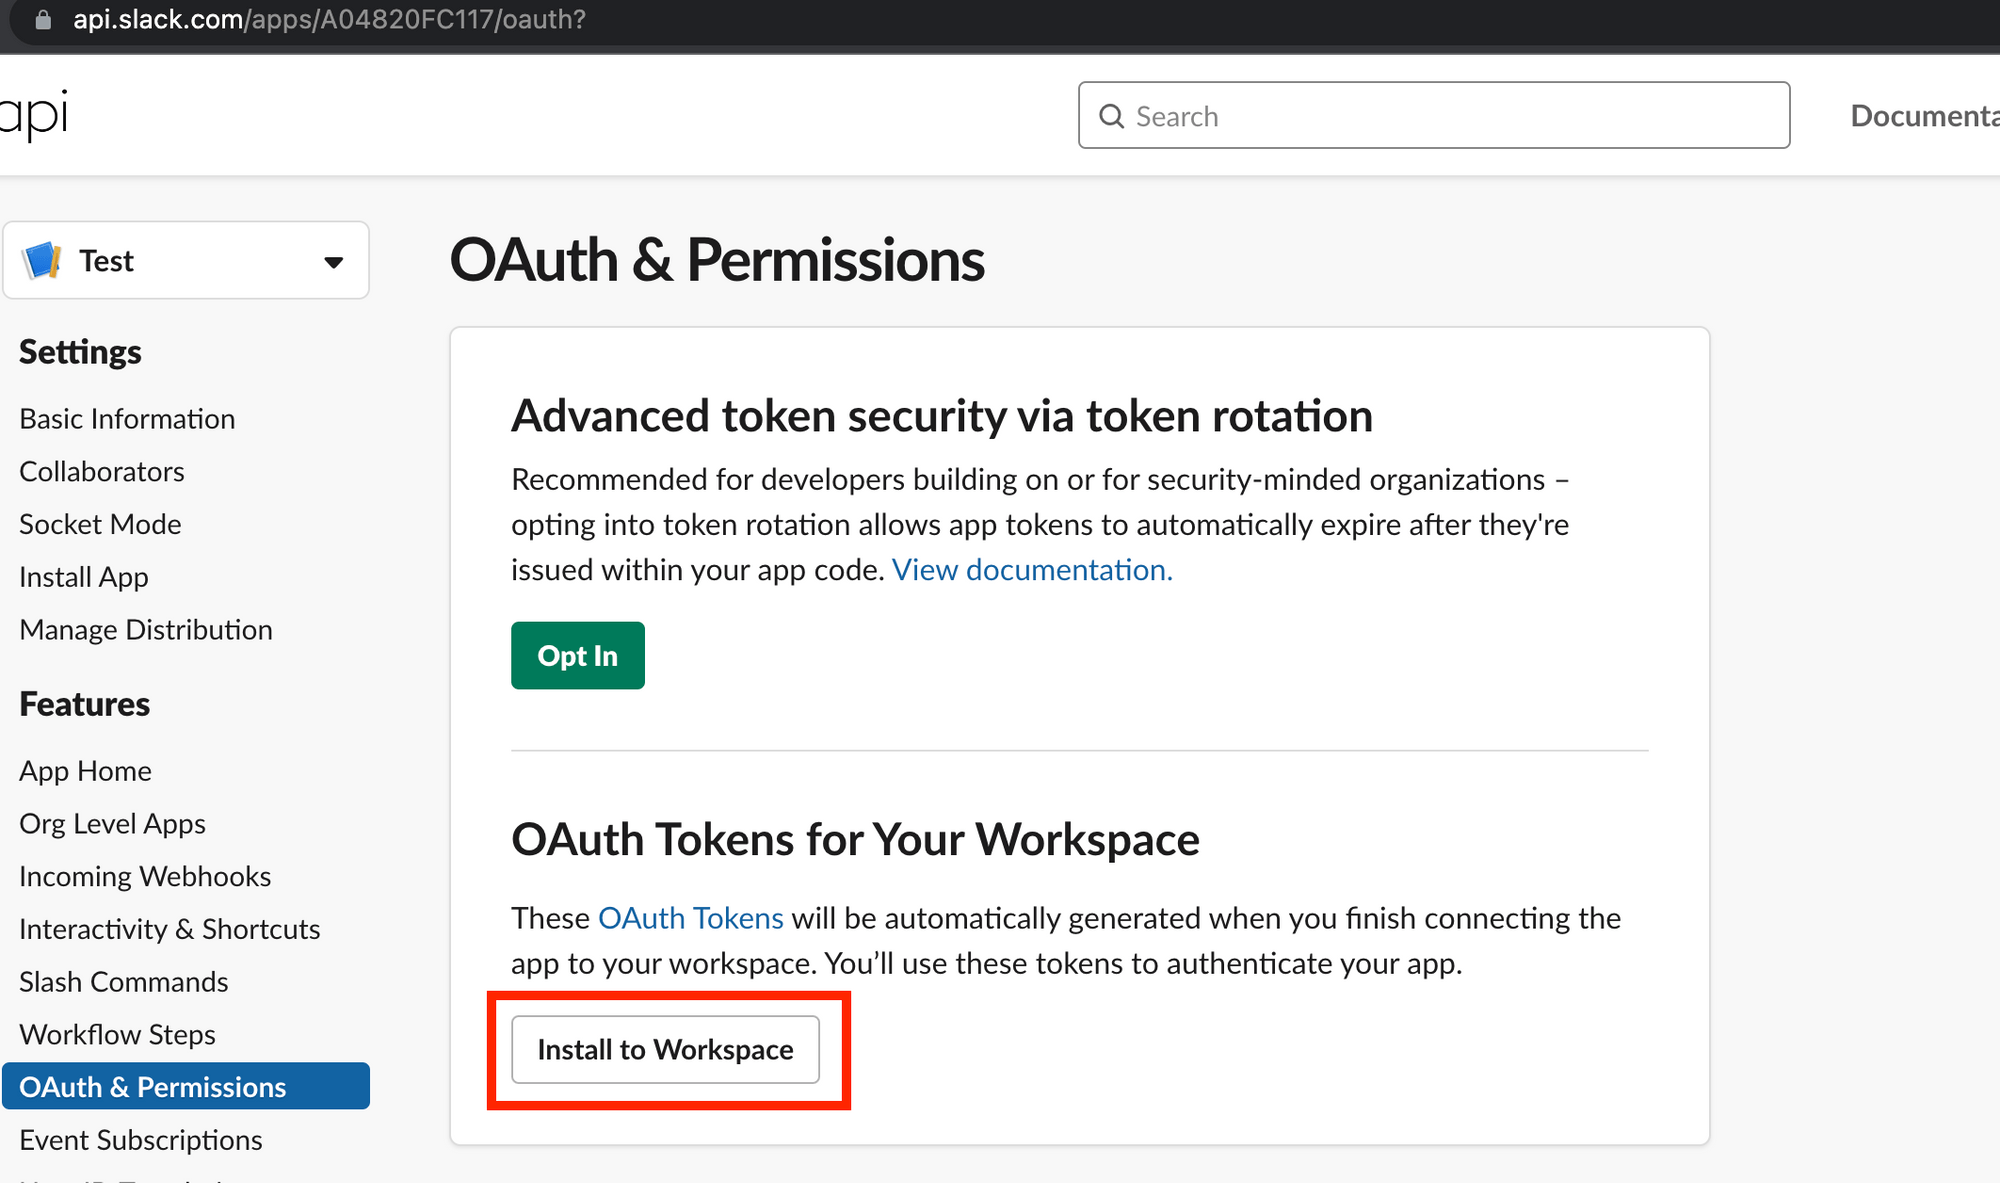
-
Install to Workspace를 클릭하여 앱을 설치합니다. 앞으로 변경사항이 있을 때 마다 앱 재설치가 필요합니다.
-
이제 슬랙 로그인을 사용하기 위한 설정을 완료하였습니다. Basic Information에서 Client Id와 Client Secret을 기억해둡니다.

3, 4 과정 예시 코드
→ 예시 코드이며 실제 서비스마다 다르게 활용할 수 있다.
백엔드 WAS에서 프론트엔드 Client로부터 인가 코드를 받는 컨트롤러 예시이다.
@RestController
public class SlackController {

  @GetMapping("/code")
  public ResponseEntity<SlackOpenIdConnectUserInfo> login(@RequestParam String code) {
    SlackOpenIdConnectTokenResponse response = slackOpenIdConnectToken(code);
    String accessToken = response.getAccessToken();

    SlackOpenIdConnectUserInfo userInfo = slackConnectUserInfo(accessToken);
    return ResponseEntity.ok(userInfo);
  }
}private SlackOpenIdConnectTokenResponse slackOpenIdConnectToken(final String code){
RestTemplate restTemplate=new RestTemplate();
String requestUrl="https://slack.com/api/openid.connect.token";
MultiValueMap<String, String> parameters=new LinkedMultiValueMap<>();
parameters.add("client_id","4274003xxxxxx.xxxxxxxxxxxxx");
parameters.add("client_secret","3001a9f1xxxxxxxxxxxxxxxxxxxxxxxx);
parameters.add("redirect_uri","https://kkogkkog.com/redirect");
parameters.add("code",code);
HttpHeaders headers=new HttpHeaders();
headers.setContentType(MediaType.APPLICATION_FORM_URLENCODED);
headers.setAccept(Collections.singletonList(MediaType.APPLICATION_JSON));
HttpEntity<MultiValueMap<String, String>>httpEntity=new HttpEntity<>(parameters,headers);
return restTemplate.postForObject(requestUrl,httpEntity,SlackOpenIdConnectTokenResponse.class);
}public class SlackOpenIdConnectTokenResponse {
private String ok;
@JsonProperty("access_token")
private String accessToken;
public SlackOpenIdConnectTokenResponse() {
}
public String getOk() {
return ok;
}
public String getAccessToken() {
return accessToken;
}
}private SlackOpenIdConnectUserInfo slackConnectUserInfo(final String token){
RestTemplate restTemplate=new RestTemplate();
String requestUrl="https://slack.com/api/openid.connect.userInfo";
HttpHeaders headers=new HttpHeaders();
headers.setBearerAuth(token);
headers.setContentType(MediaType.APPLICATION_FORM_URLENCODED);
headers.setAccept(Collections.singletonList(MediaType.APPLICATION_JSON));
HttpEntity<MultiValueMap<String, String>>httpEntity=new HttpEntity<>(headers);
return restTemplate.postForObject(requestUrl,httpEntity,SlackOpenIdConnectUserInfo.class);
}슬랙 앱 설치
슬랙은 토큰 종류를 Bot과 User로 구분합니다. 알림을 보낼 수 있는 Bot Token 또한 OAuth 엔드포인트를 사용하여 User Token과 같은 방식으로 얻을 수 있습니다.
앱 설치 과정
- Add To Slack 버튼을 눌러 Slack Authorization Server의 엔드포인트로 접속하여 앱 설치를 승인합니다.
GET https://slack.com/oauth/v2/authorize?
client_id=4274003xxxxxx.xxxxxxxxxxxxx
&scope=chat:write,users:read,users:read.email
&user_scope=openid,profile,email- Slack Authorization Server는 설정한 Client의 URL로 리다이렉트시킵니다. 유저 로그인과 마찬가지로 Slack App에서 Redirect Uri를 미리 등록해야 합니다.
GET https://kkogkkog.com/redirect/download?code=12345678.90ab- Client는 Resource Owner를 거치지 않고 ClientId, Client Secret, Code를 Slack Authorization Server에 전달 합니다. 만약 올바른 코드이면 봇 엑세스 토큰을 반환합니다. 이 시점에 워크스페이스에 앱이 설치됩니다.
POST https://slack.com/api/oauth.v2.access
Content-Type: application/x-www-form-urlencoded;charset=UTF-8

client_id="4274003xxxxxx.xxxxxxxxxxxxx"
&client_secret="3001a9f1xxxxxxxxxxxxxxxxxxxxxxxx"
&redirect_uri="https://kkogkkog.com/redirect/download"
&code="12345678.90ab"Content-Type: application/json;charset=UTF-8
{
"ok": true,
"access_token": "xoxb-17653672481-19874698323-pdFZKVeTuE8sk7oOcBrzbqgy",
"token_type": "bot",
"scope": "chat:write,users:read,users:read.email",
"bot_user_id": "U0KRQLJ9H",
"team": {
"name": "Slack Softball Team",
"id": "T9TK3CUKW"
}
}슬랙 앱 배포 설정
-
OAuth & Permissions 탭을 선택하고 chat:write, users:read, users:read.email Scopes를 추가합니다. 앱을 배포하고 나면 해당 스코프를 사용하는 이유를 작성해야 합니다.
-
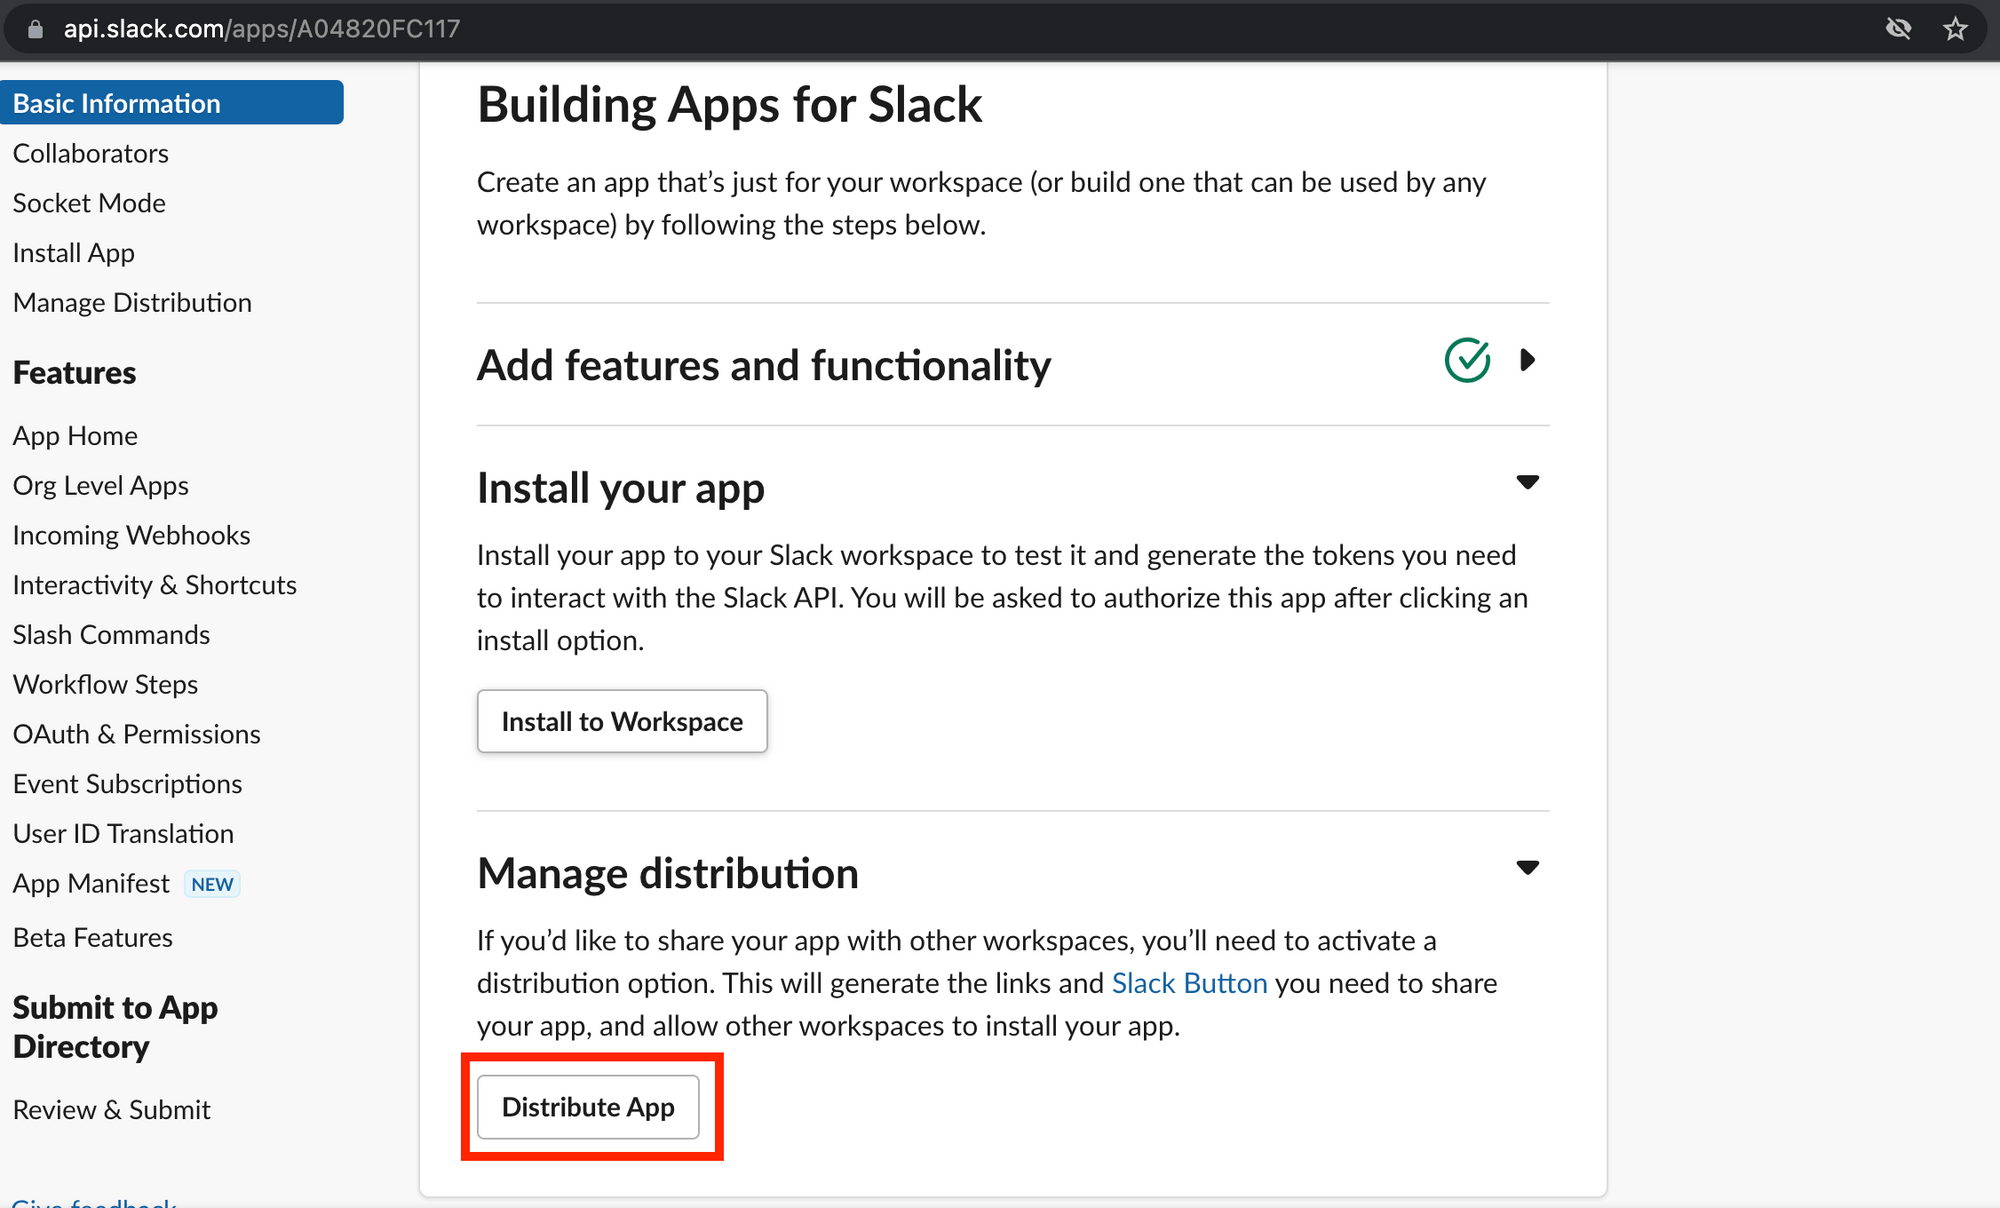
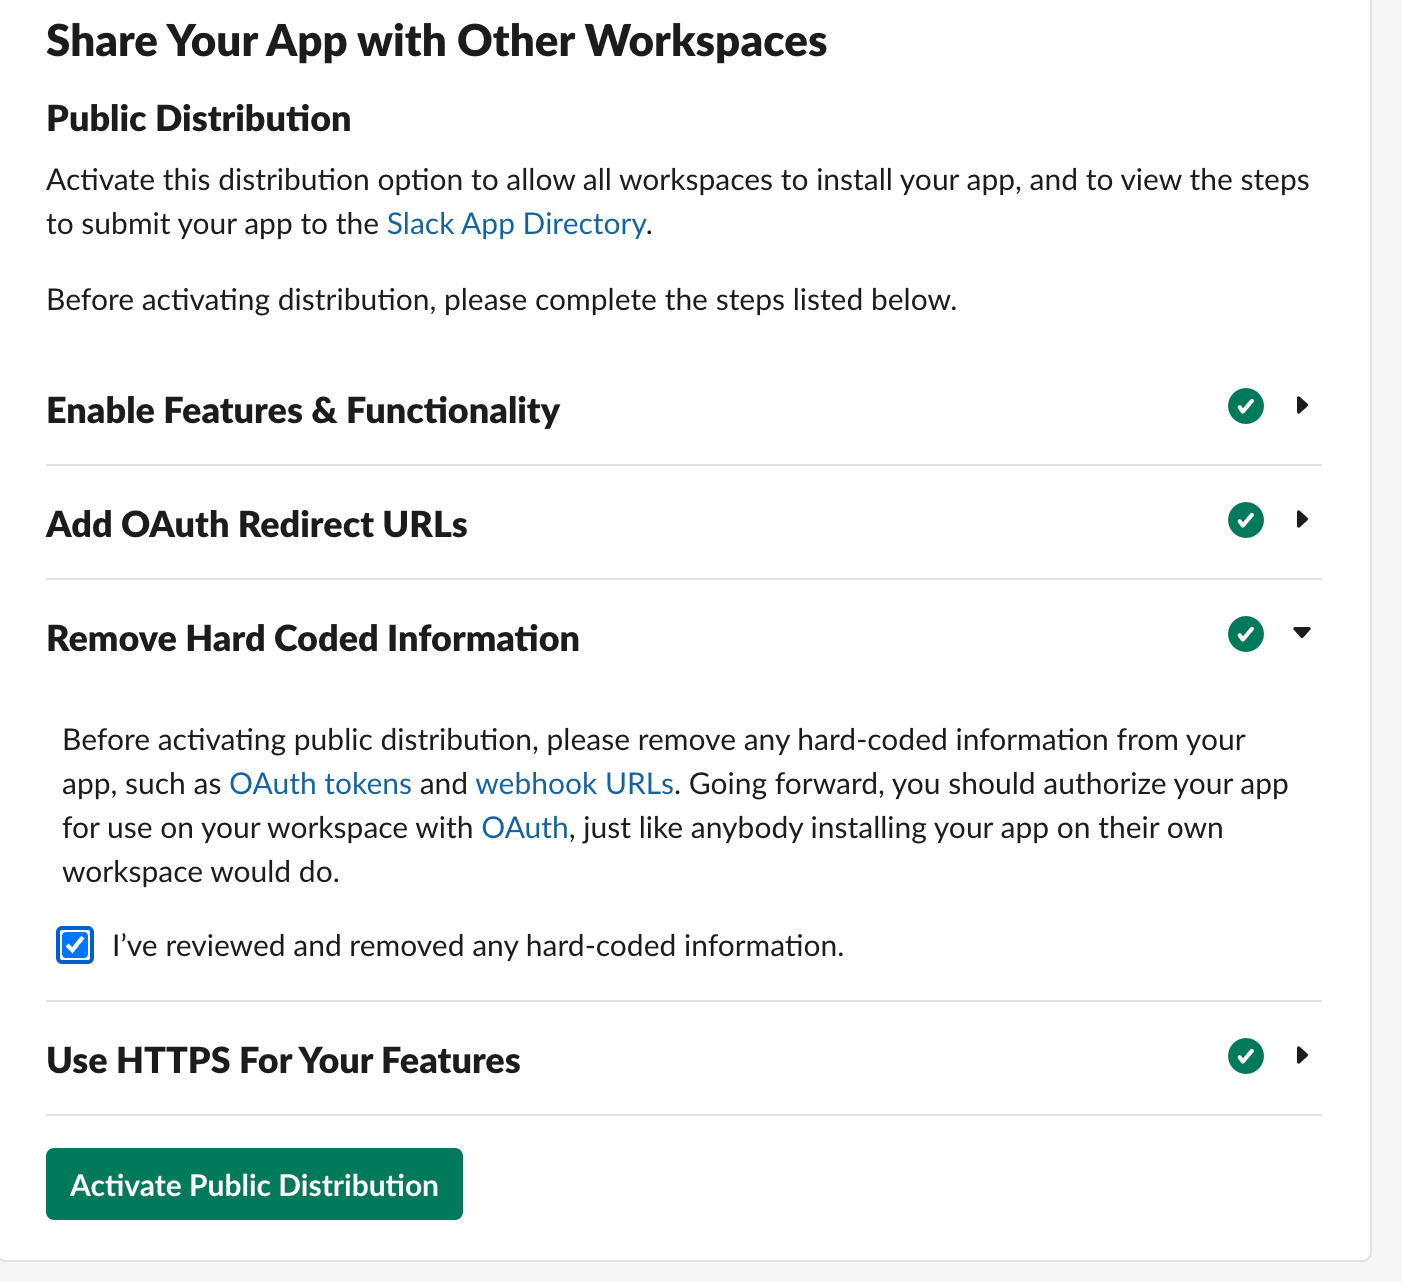
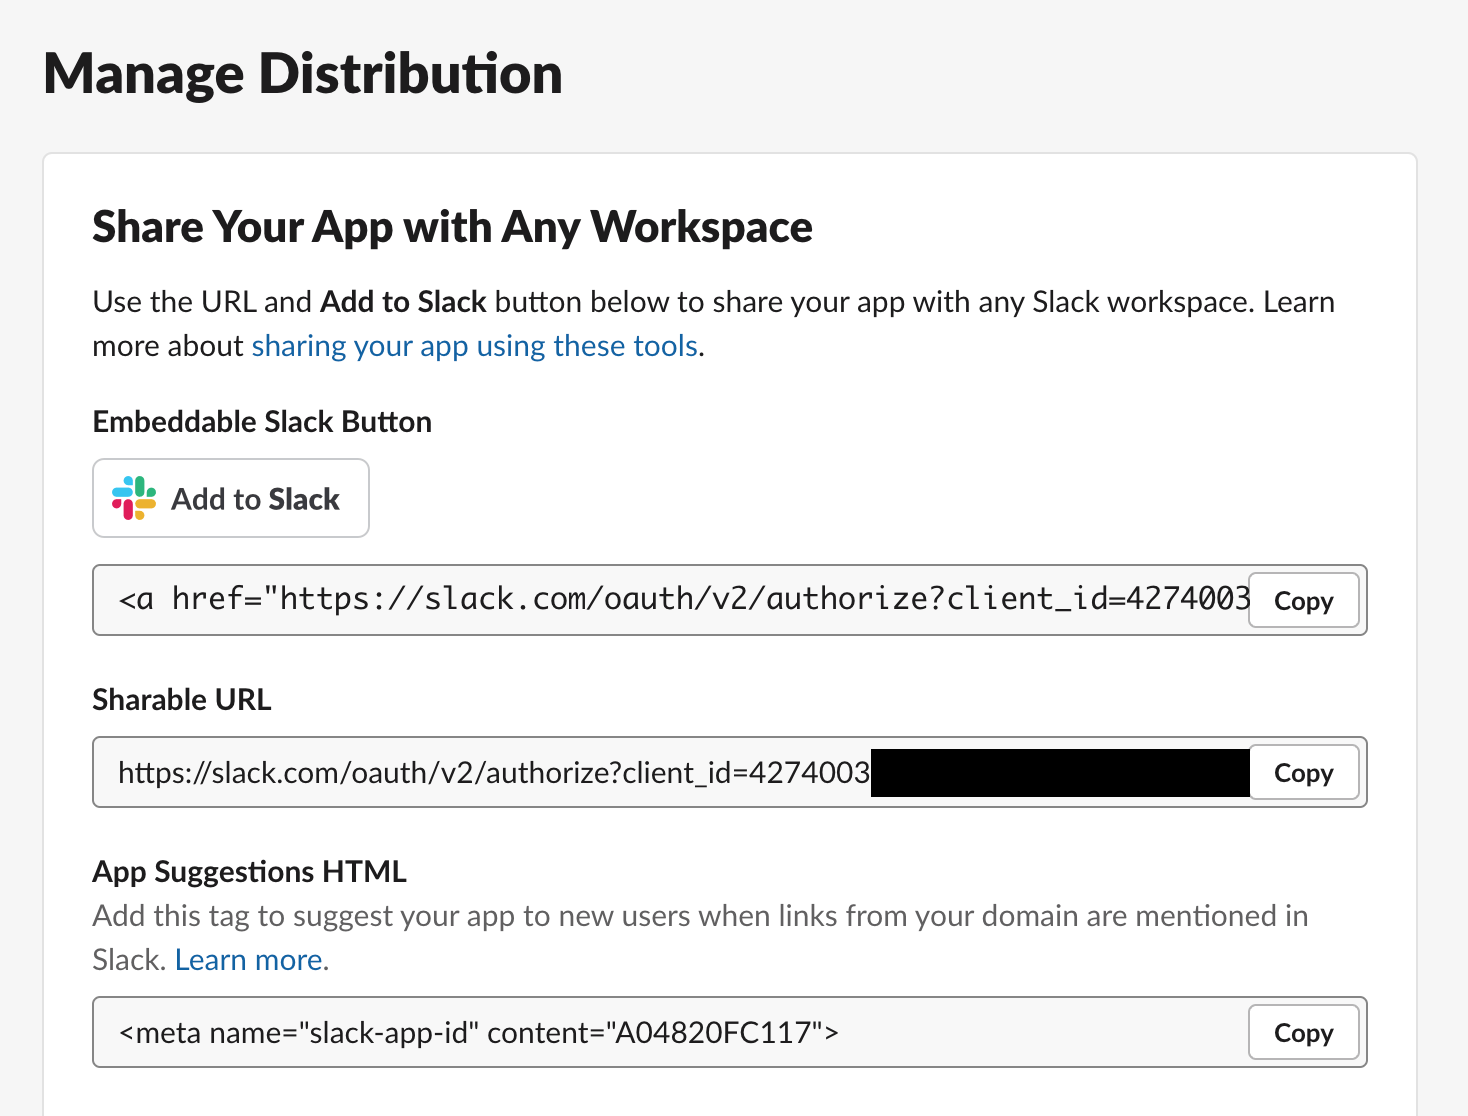
초기 화면에서 Distribute App을 클릭하고 안내 사항을 체크한 후 Activate Public Distribution을 눌러 앱을 배포합니다.
-
배포가 완료되면 Add to Slack 버튼을 받을 수 있습니다.
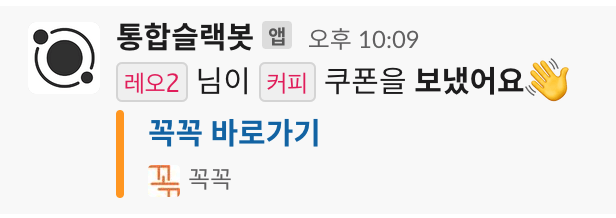
슬랙 알림 보내기
이제 사용자가 로그인할 때 받았던 User Id와(channel) 사용자 워크스페이스의 봇 엑세스 토큰이 있으면 DM을 보낼 수 있습니다.
POST https://slack.com/api/openid.connect.token
Content-Type: application/x-www-form-urlencoded;charset=UTF-8
or Content-Type: application/json;charset=UTF-8
Authorization: Bearer {Access Token} => BotToken

{
channel: "U0R7JM", # userID 또는 ChannelID 입력

1개 이상 필수
text: "Hello World!",
blocks: ,
attachments:
}Content-Type: application/json;charset=UTF-8
{
"ok": true,
"channel": "C123456",
"message": {
"text": "Here's a message for you",
"username": "ecto1",
"bot_id": "B123456",
"attachments": [
{
"text": "This is an attachment",
"id": 1,
"fallback": "This is an attachment's fallback"
}
]
}
}